Design QA for AI-generated UI: a six-pass checklist for Claude Code and Codex
Coding agents can now open your app in a browser and screenshot it. That is not design QA. Here is a six-pass checklist that makes Claude Code and Codex compare every state, at every breakpoint, with the design, and hand a person evidence instead of a single happy-path screenshot.
"Looks good to me" is not design QA
Coding agents have learned to look at their own work. Claude Code can open your app in Chrome and check it against a mock. Codex can resize a browser with Playwright and compare the result with your screenshots. So the agent finishes a screen, attaches one screenshot of the page with perfect sample data, and says it matches the design.
It usually does, for that one state, at that one width. The bugs designers actually find are elsewhere: the empty state nobody drew, the error message that pushes the button off the screen on a phone, a hard-coded grey that is almost the brand grey, a focus ring that disappeared, a table that breaks with a 60-character customer name. An agent that is asked "does it match?" will look where it is pointed, and nobody pointed it there.
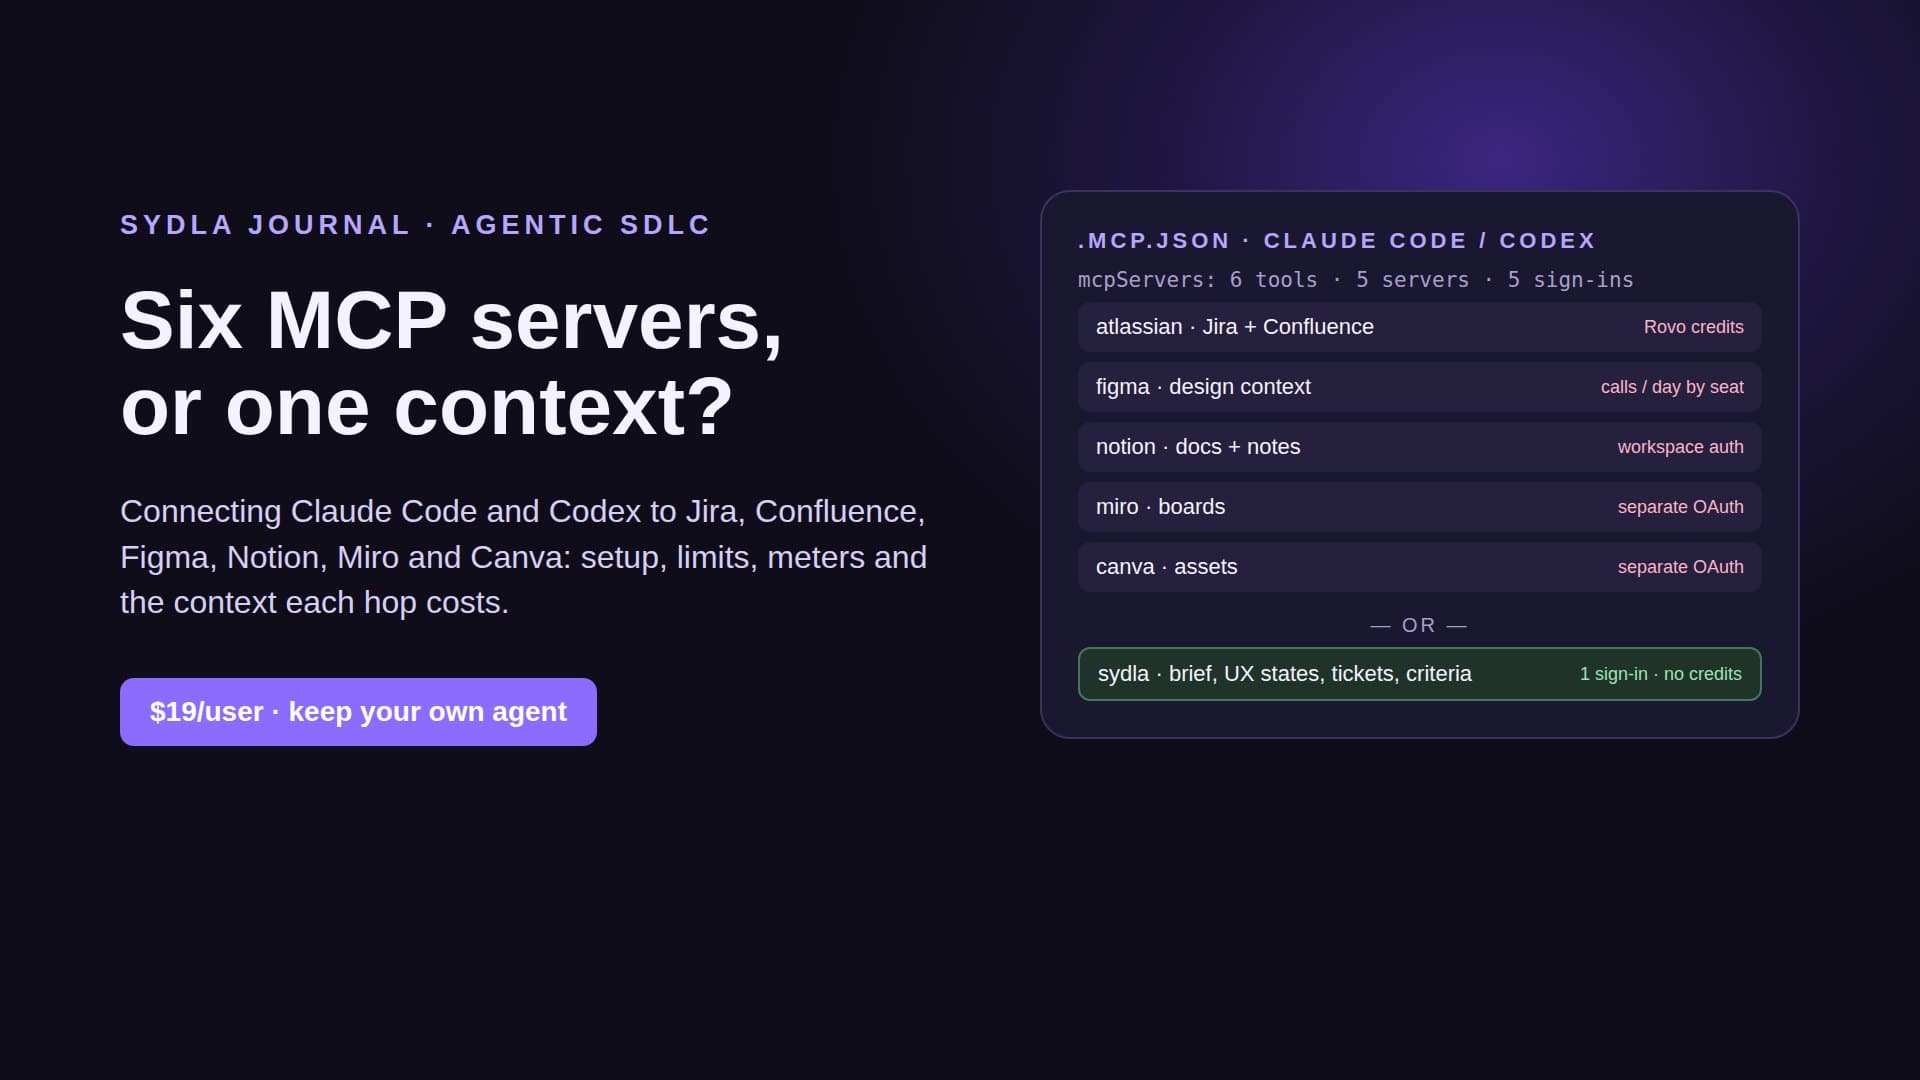
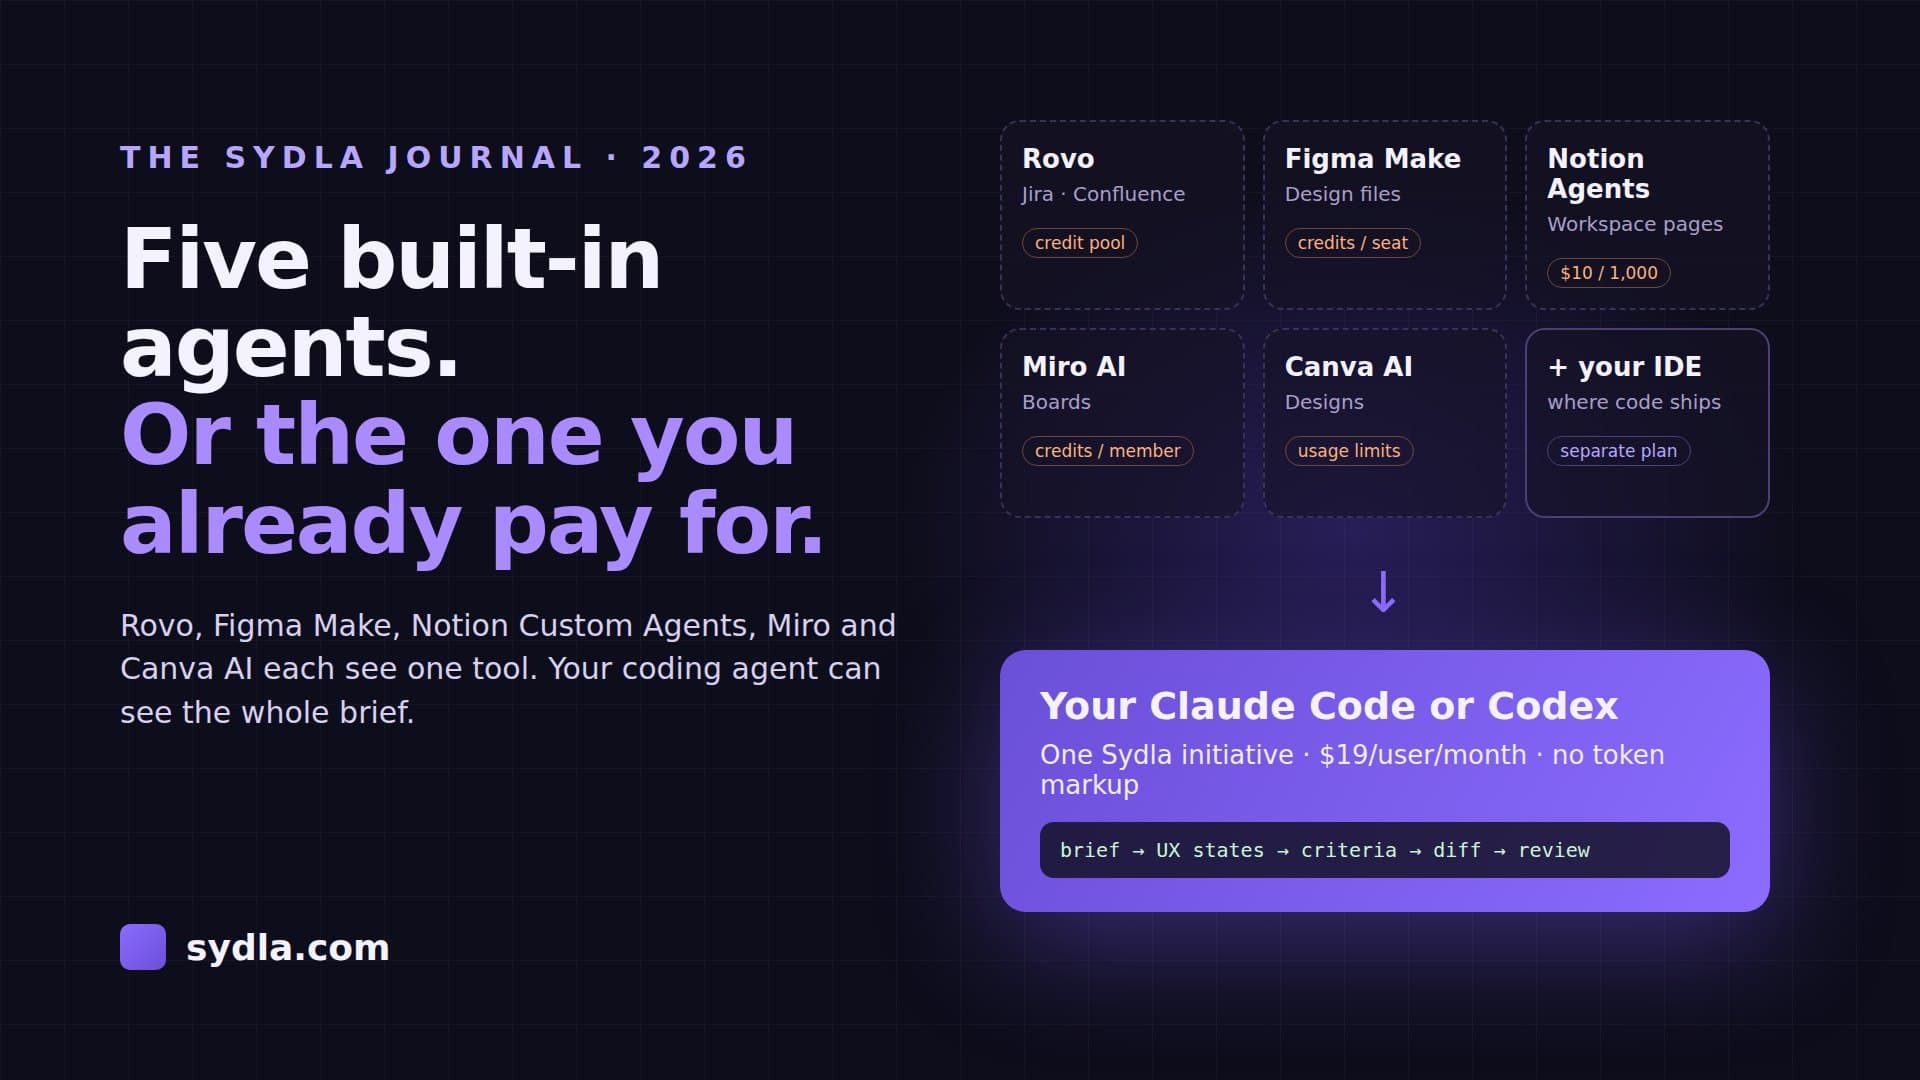
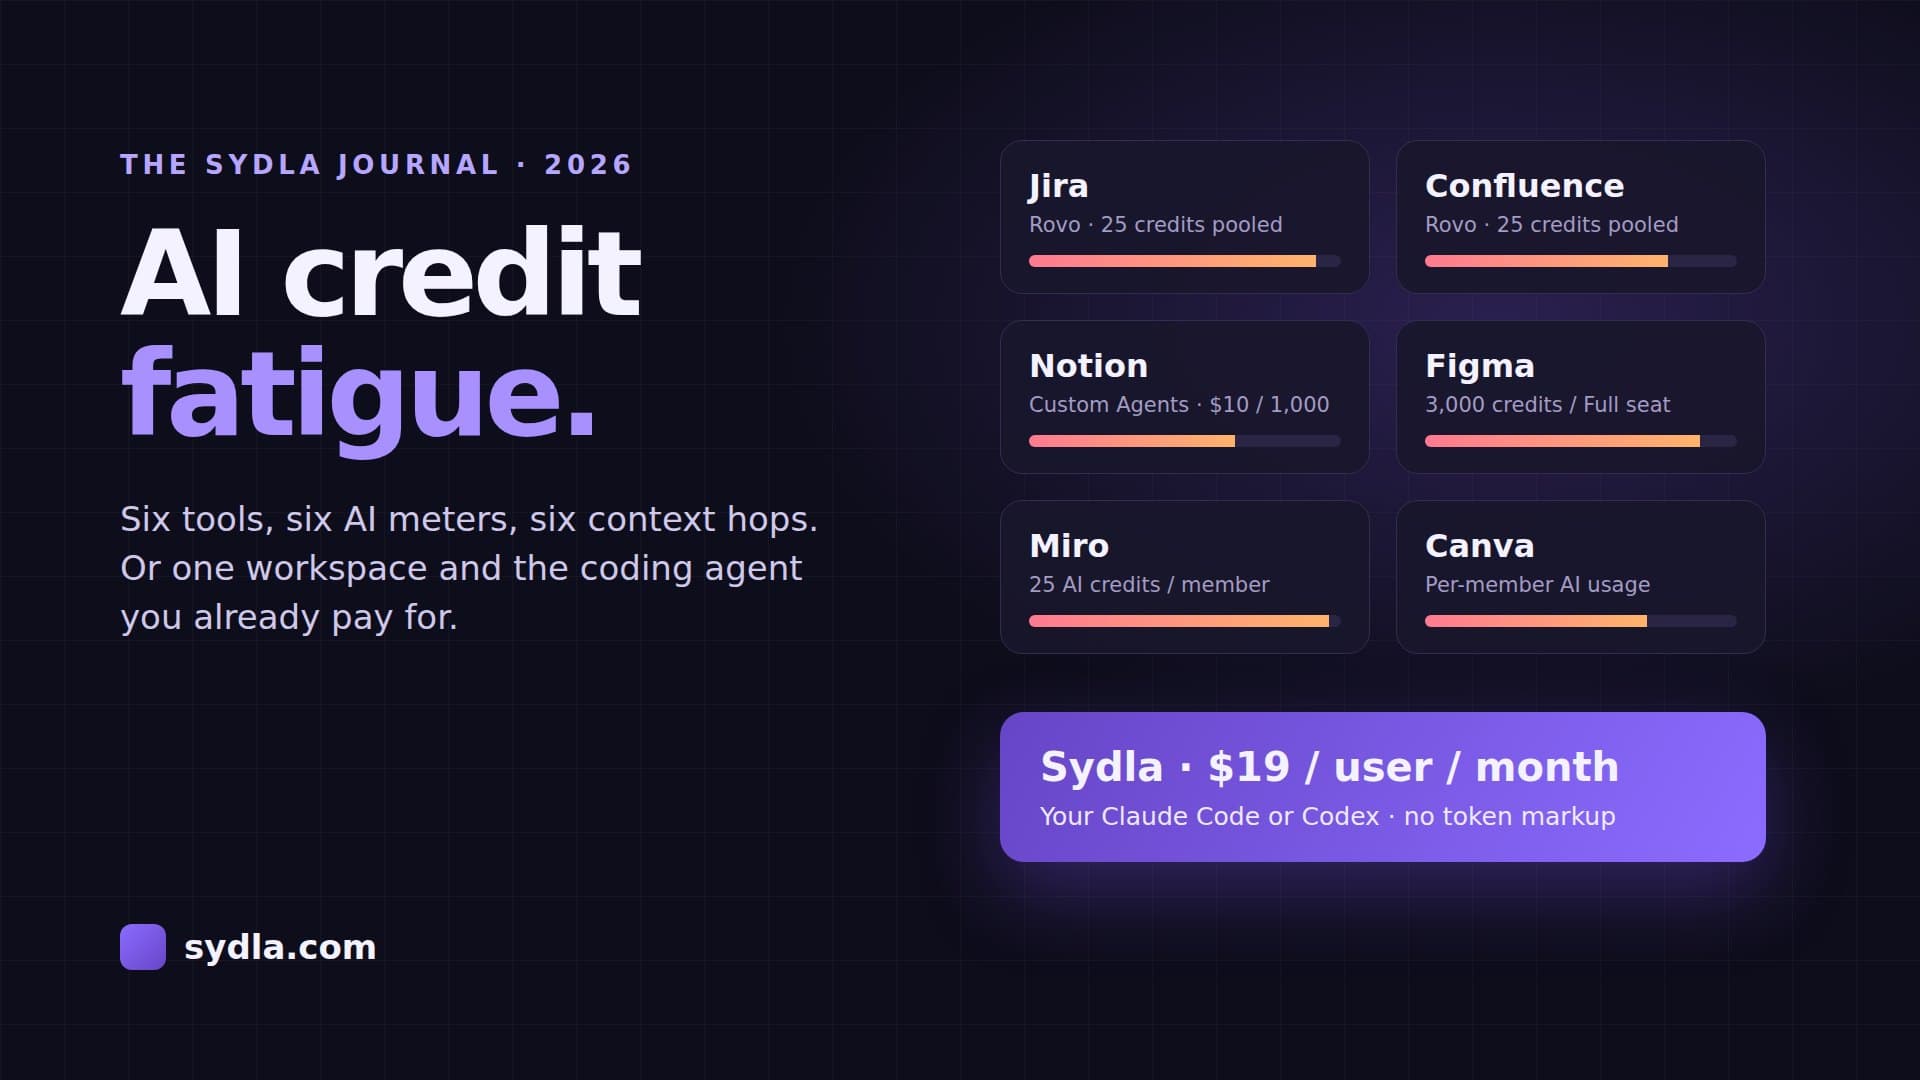
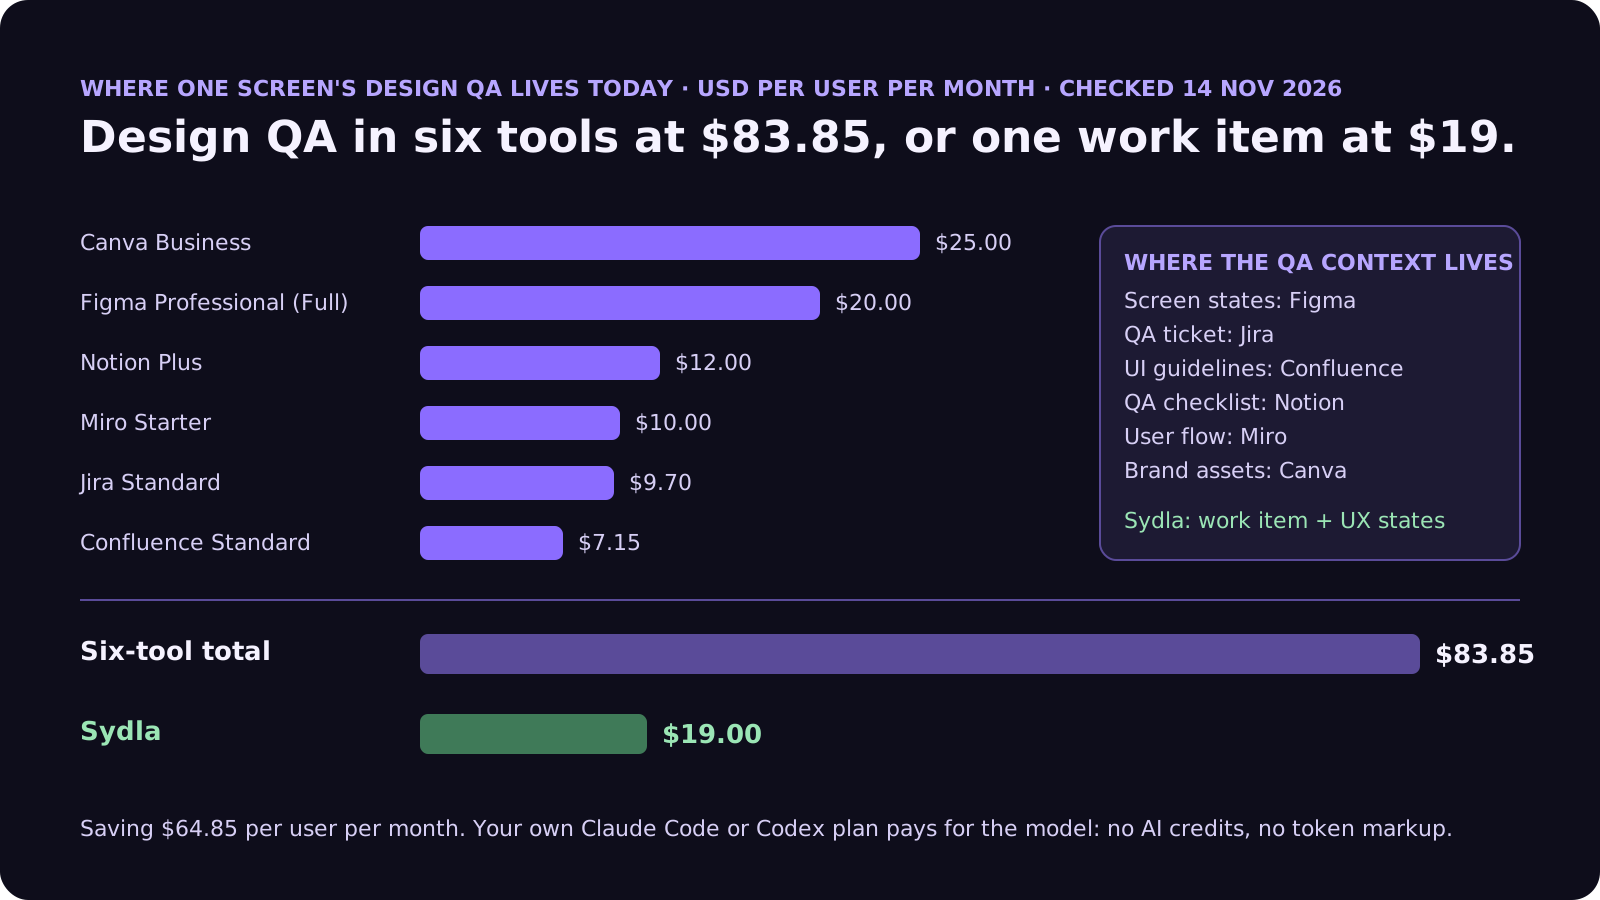
The context for real design QA is also scattered in 2026. The screen states are in Figma, the QA ticket in Jira, the UI guidelines in Confluence, the QA checklist in Notion, the user flow on a Miro board and the brand assets in Canva. Six connections for the agent, and with each vendor's own AI, up to six credit meters. Our AI credit fatigue piece adds those meters up.
This guide gives you a six-pass design QA checklist written for an agent reader, shows what Claude Code and Codex already offer, and walks through a run where the evidence is a grid of states and breakpoints, not a single picture.
What Claude Code and Codex can already check
Both agents can see a running UI now. The vendor guidance is worth reading closely, because it tells you what the agent will and will not do on its own:
- Claude Code: a check it can run. The best practices page lists "a browser screenshot next to the mockup" as one of the checks you can give Claude, next to tests and linters, and says that when a check comes back pass or fail, Claude can close the loop itself. Running /verify after Claude says it is done has it build and run the app and look at the result, which catches problems tests and type checks miss. You can also paste a screenshot of the design straight into the prompt.
- Claude Code with Chrome. The Chrome integration lists design verification as a use case: build a UI from a Figma mock, then open it in the browser to verify it matches. It also reads console errors and DOM state and can check for visual regressions. It needs a direct Anthropic plan (Pro, Max, Ultra, Team or Enterprise) and is not available through Bedrock, Google Cloud or Microsoft Foundry.
- Codex: responsive front-end designs. OpenAI's use case asks for references in several states, such as desktop and mobile layouts, hover and selected states, and empty or loading views. It tells Codex to reuse the repository's components and tokens, then use Playwright to resize the browser and check the layout at each breakpoint. Its own warning: without clear references, the model defaults to common patterns and "the UI might look generic".
Read together, the tools are ready and the instructions are not. Every guide assumes someone gives the agent the right references: every state, every breakpoint, the tokens, and what "matches" means. That is the part a person decides, and it is what the checklist below makes explicit.
The six-pass design QA checklist for AI-generated UI
Put this in the design QA section of the work item. Each pass closes a gap an agent would otherwise skip because nobody asked. Passes 1 to 5 run in the agent's browser; pass 6 is a person.
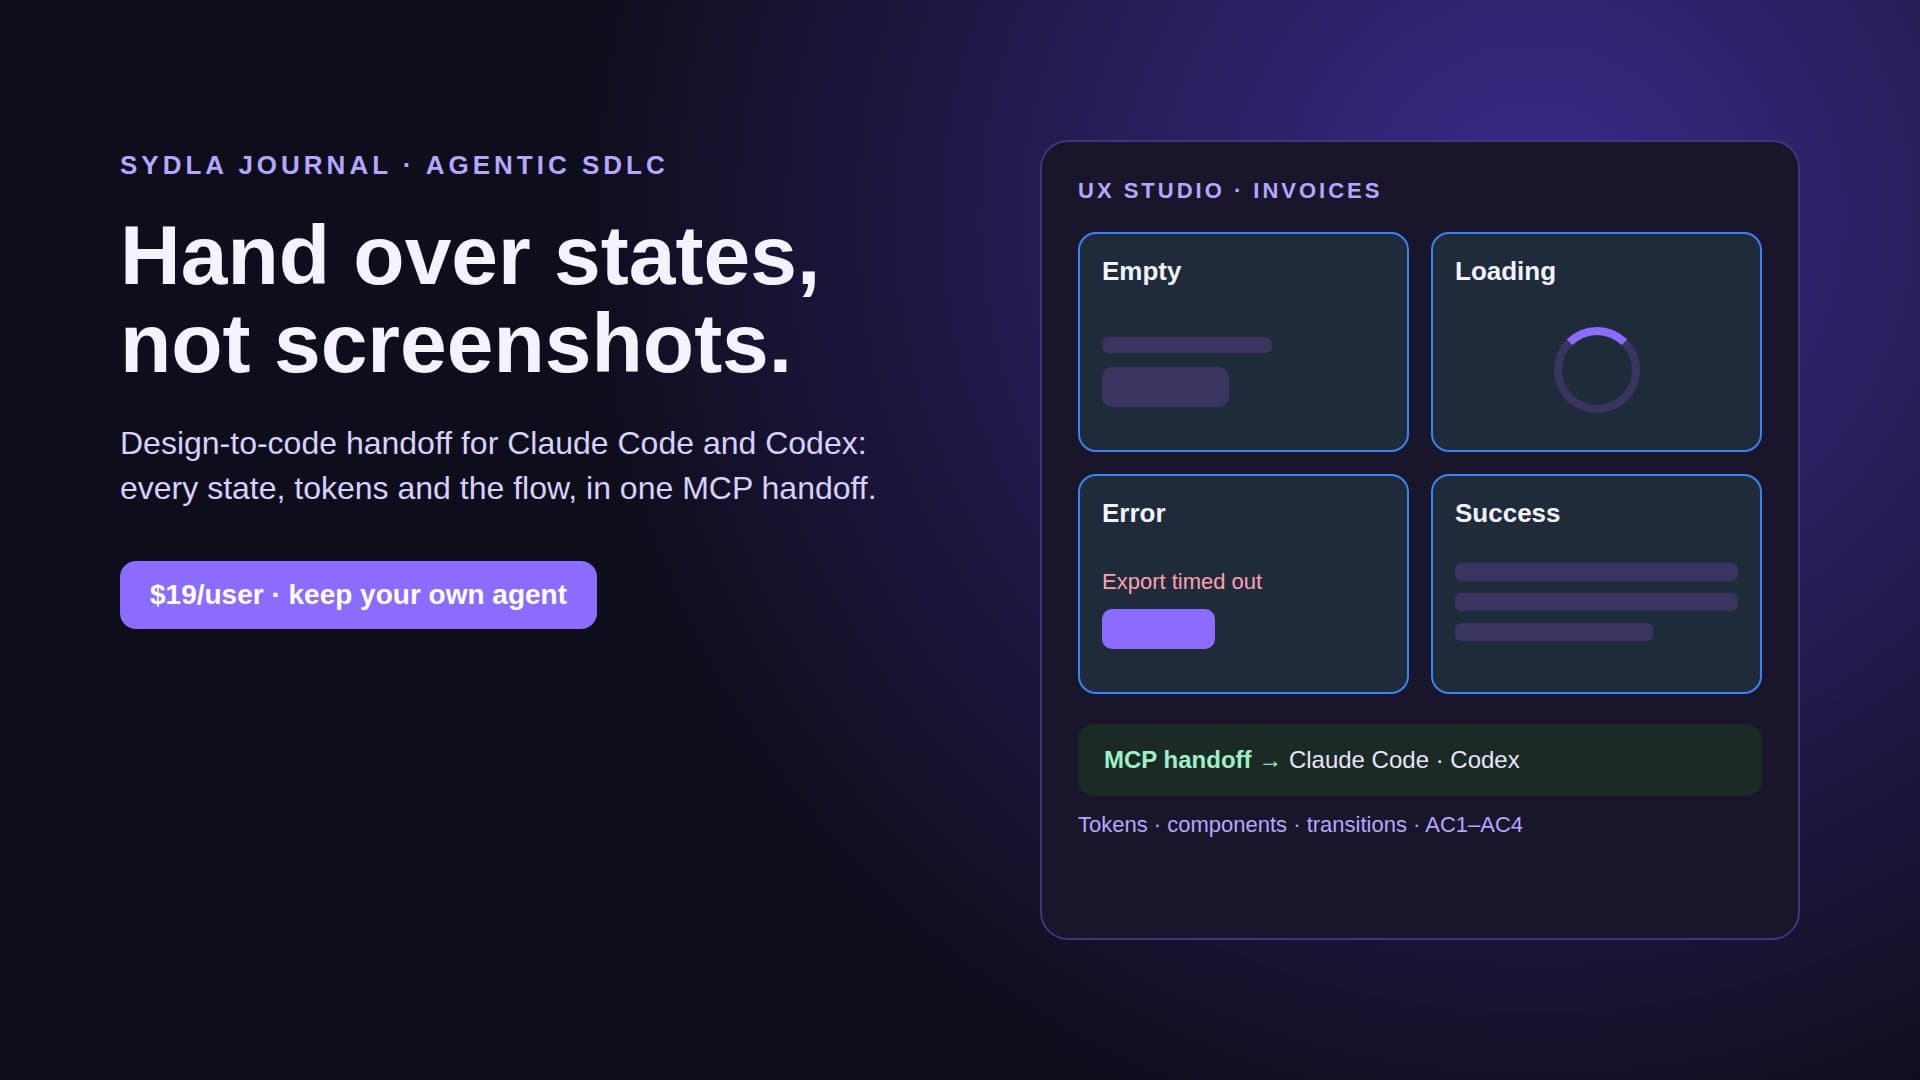
- 1. Every state exists. List the states the screen must render: empty, loading, partial, error, long content, permission denied, done. The agent captures each one with fixture data and attaches it next to the matching design state. A missing state is a failure, not a gap to fill with taste. Our design-to-code handoff guide explains why states beat screenshots.
- 2. Tokens, not raw values. Colours, spacing, radii and type sizes must come from the design tokens and existing components. Ask the agent to list any raw value it introduced and why. This is where "almost the brand grey" gets caught, and it is the check Codex's own guide hints at when it says to prefer the repository's tokens.
- 3. Breakpoints and real content. Name the widths, for example 1440, 1024 and 390 pixels, and the worst real content: the longest name, the biggest number, a translated label that is 40% longer. The agent captures every state at every width. A state that only works with lorem ipsum is not done.
- 4. Interaction and focus. Hover, selected, disabled and focus states, keyboard order through the screen, and what happens after the main action. Screenshots show layout, not behaviour, so write the expected behaviour as text and have the agent click and tab through it.
- 5. Accessibility basics. Every control has a label, focus is visible, text contrast holds in light and dark, nothing important is only colour, and the console is clean. Ask for the console output with the screenshots; Claude Code's Chrome integration and Codex's Playwright run can both read it.
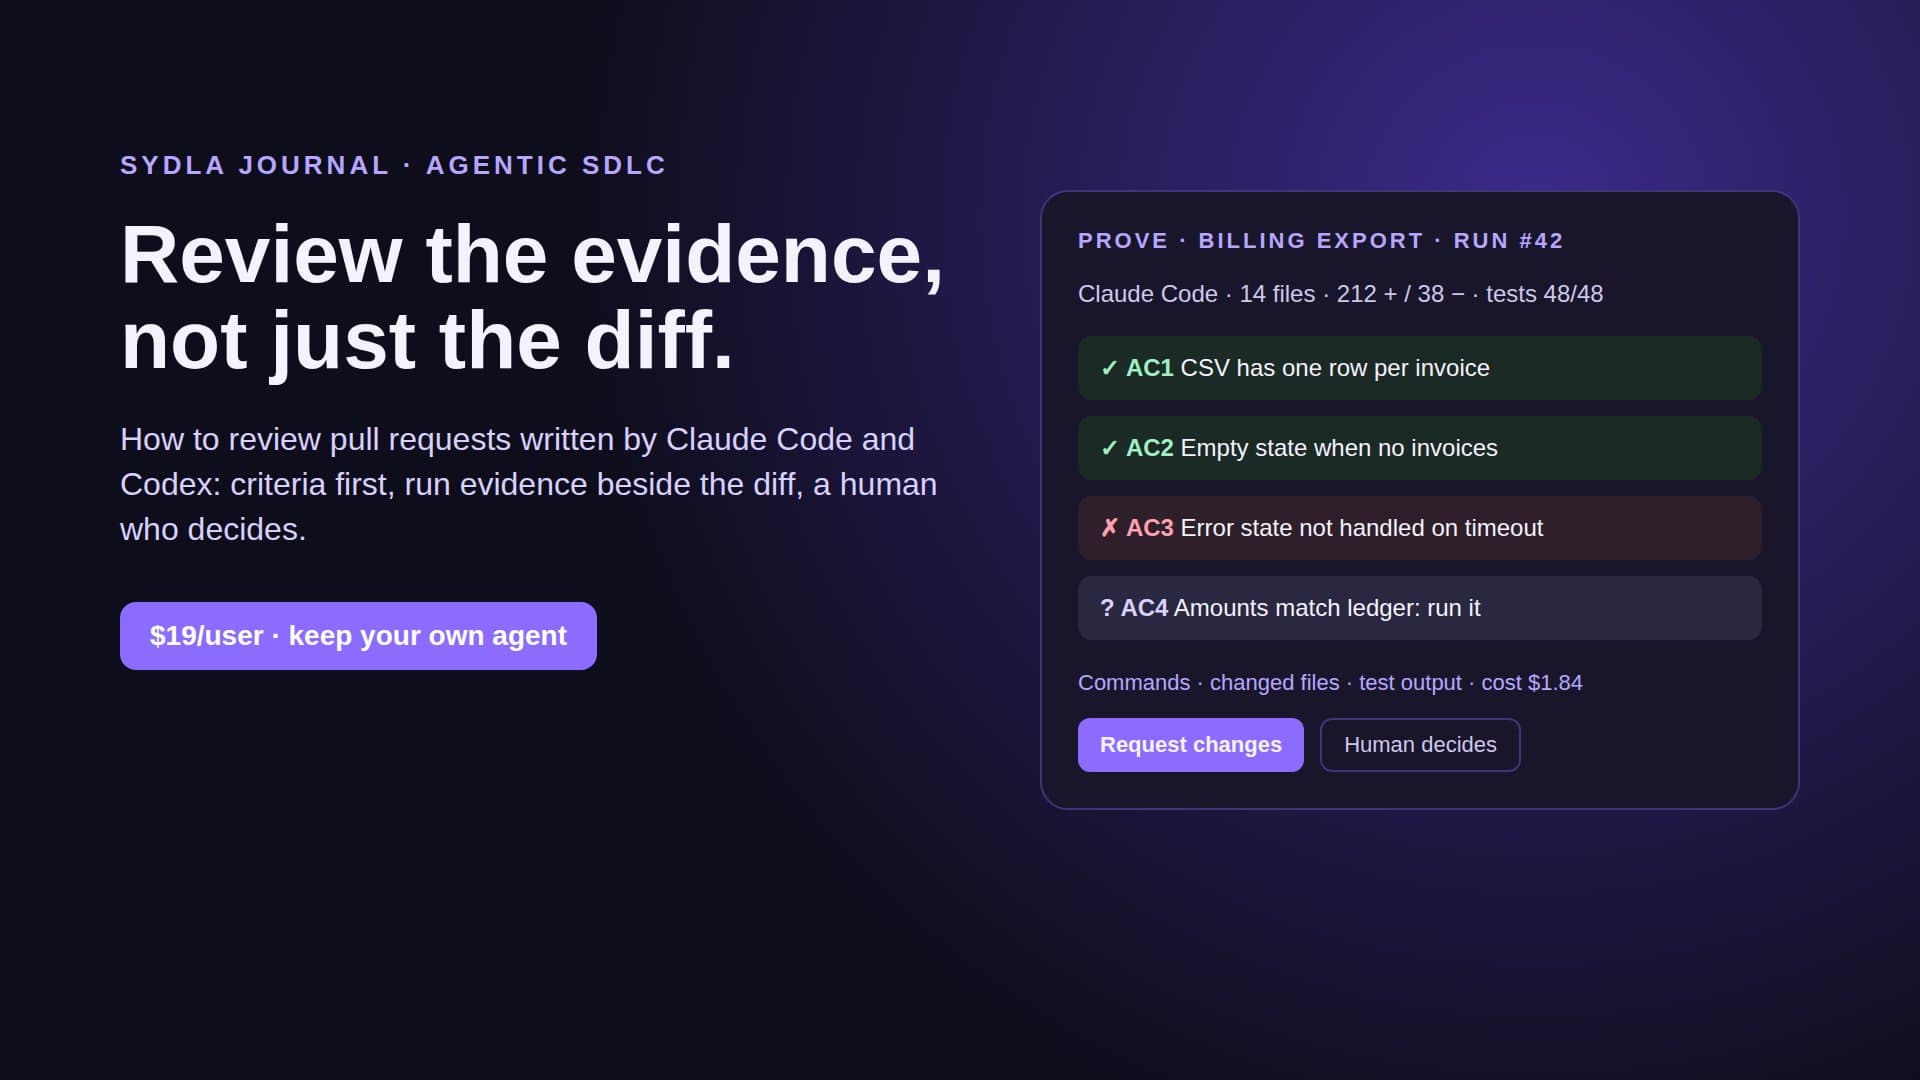
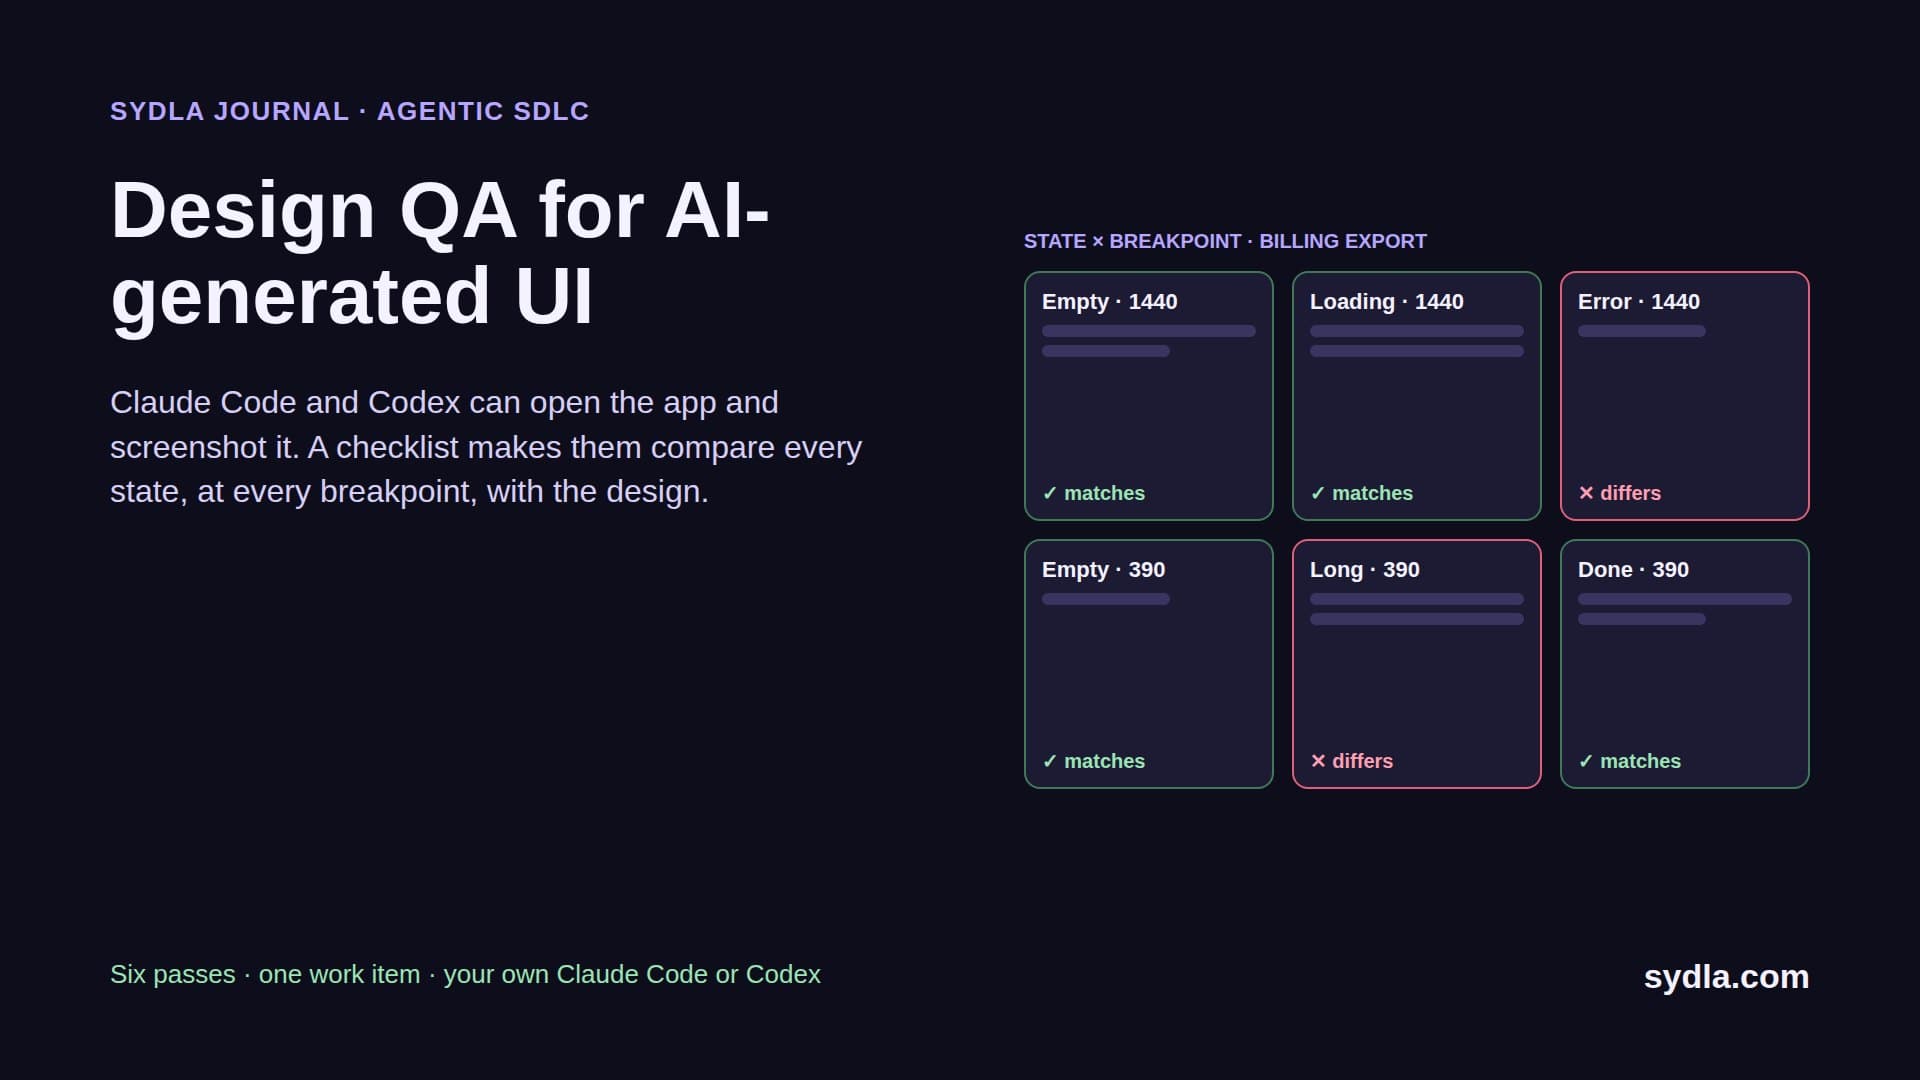
- 6. Evidence, then a person. The run returns a state-by-breakpoint grid, the list of differences it found and fixed, the ones it could not fix, the raw values it added, the console output and the run cost. A designer or product owner compares the grid with the design and decides. The agent never marks its own work as matching.
Add one stop condition: if a state in the design is impossible with the current data or components, the agent stops and asks. It does not invent a state, and it does not change the design. That question belongs to the person who owns the screen.
Where design QA context lives in 2026, and what it costs
The checklist is the easy part. In most teams, the references for one screen's design QA sit in six subscriptions, and the agent has to visit each one:
| Tool and plan | Seat / month | AI layer and limits | Design QA context usually kept there |
|---|---|---|---|
| Figma Professional, Full seat | $20.00 | 3,000 AI credits per Full seat per month (500 for Dev, Collab and View); MCP reads 200 per day on Full and Dev, 20 per month on View and Collab | Screen states and components |
| Jira Standard | $9.70 | Rovo, 25 credits per user per month on Standard (70 Premium, 150 Enterprise), $0.01 per extra credit from 3 Dec 2026 | The QA ticket and bugs |
| Confluence Standard | $7.15 | Same pooled Rovo credits | UI guidelines and accessibility rules |
| Notion Plus | $12.00 | Custom Agents on credits, Business and Enterprise only | QA checklists |
| Miro Starter | $10.00 | Create with AI on Miro credits | User flows |
| Canva Business | $25.00 | Canva AI usage per member | Brand assets and icons |
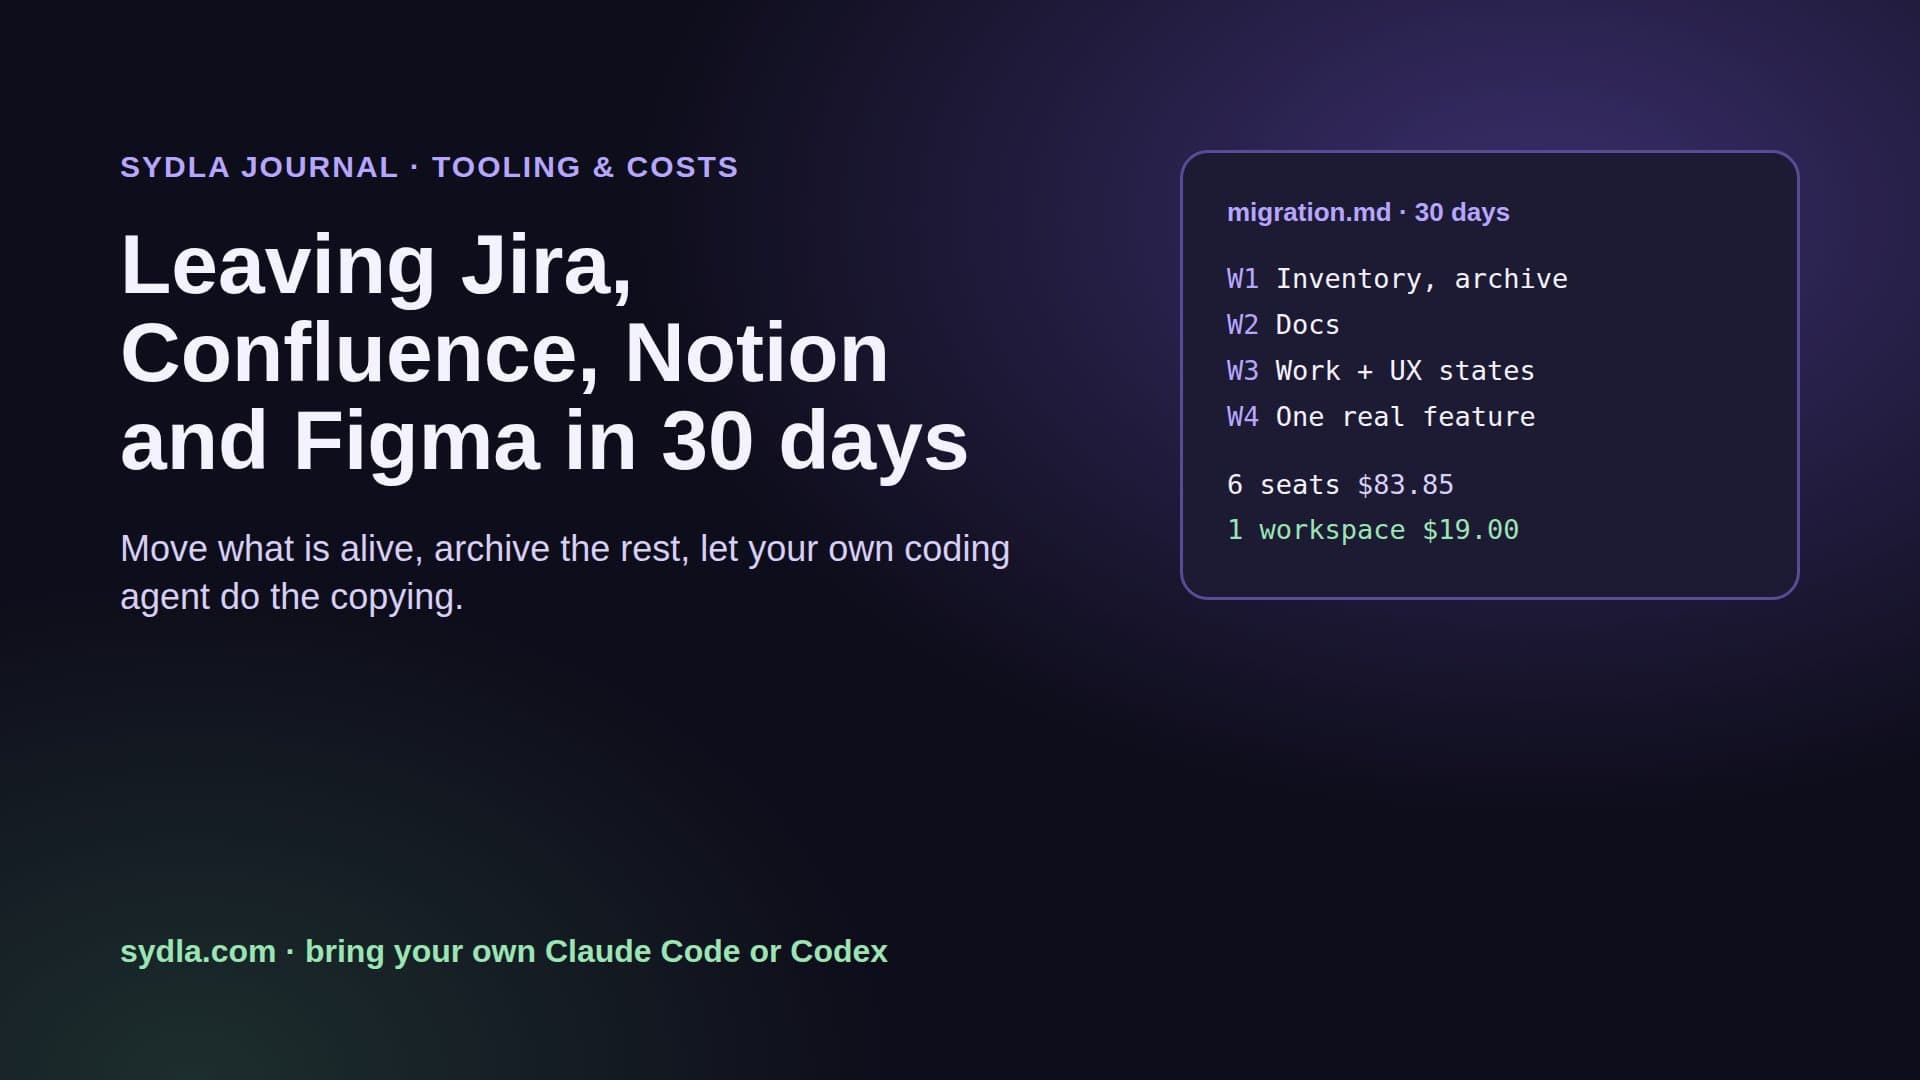
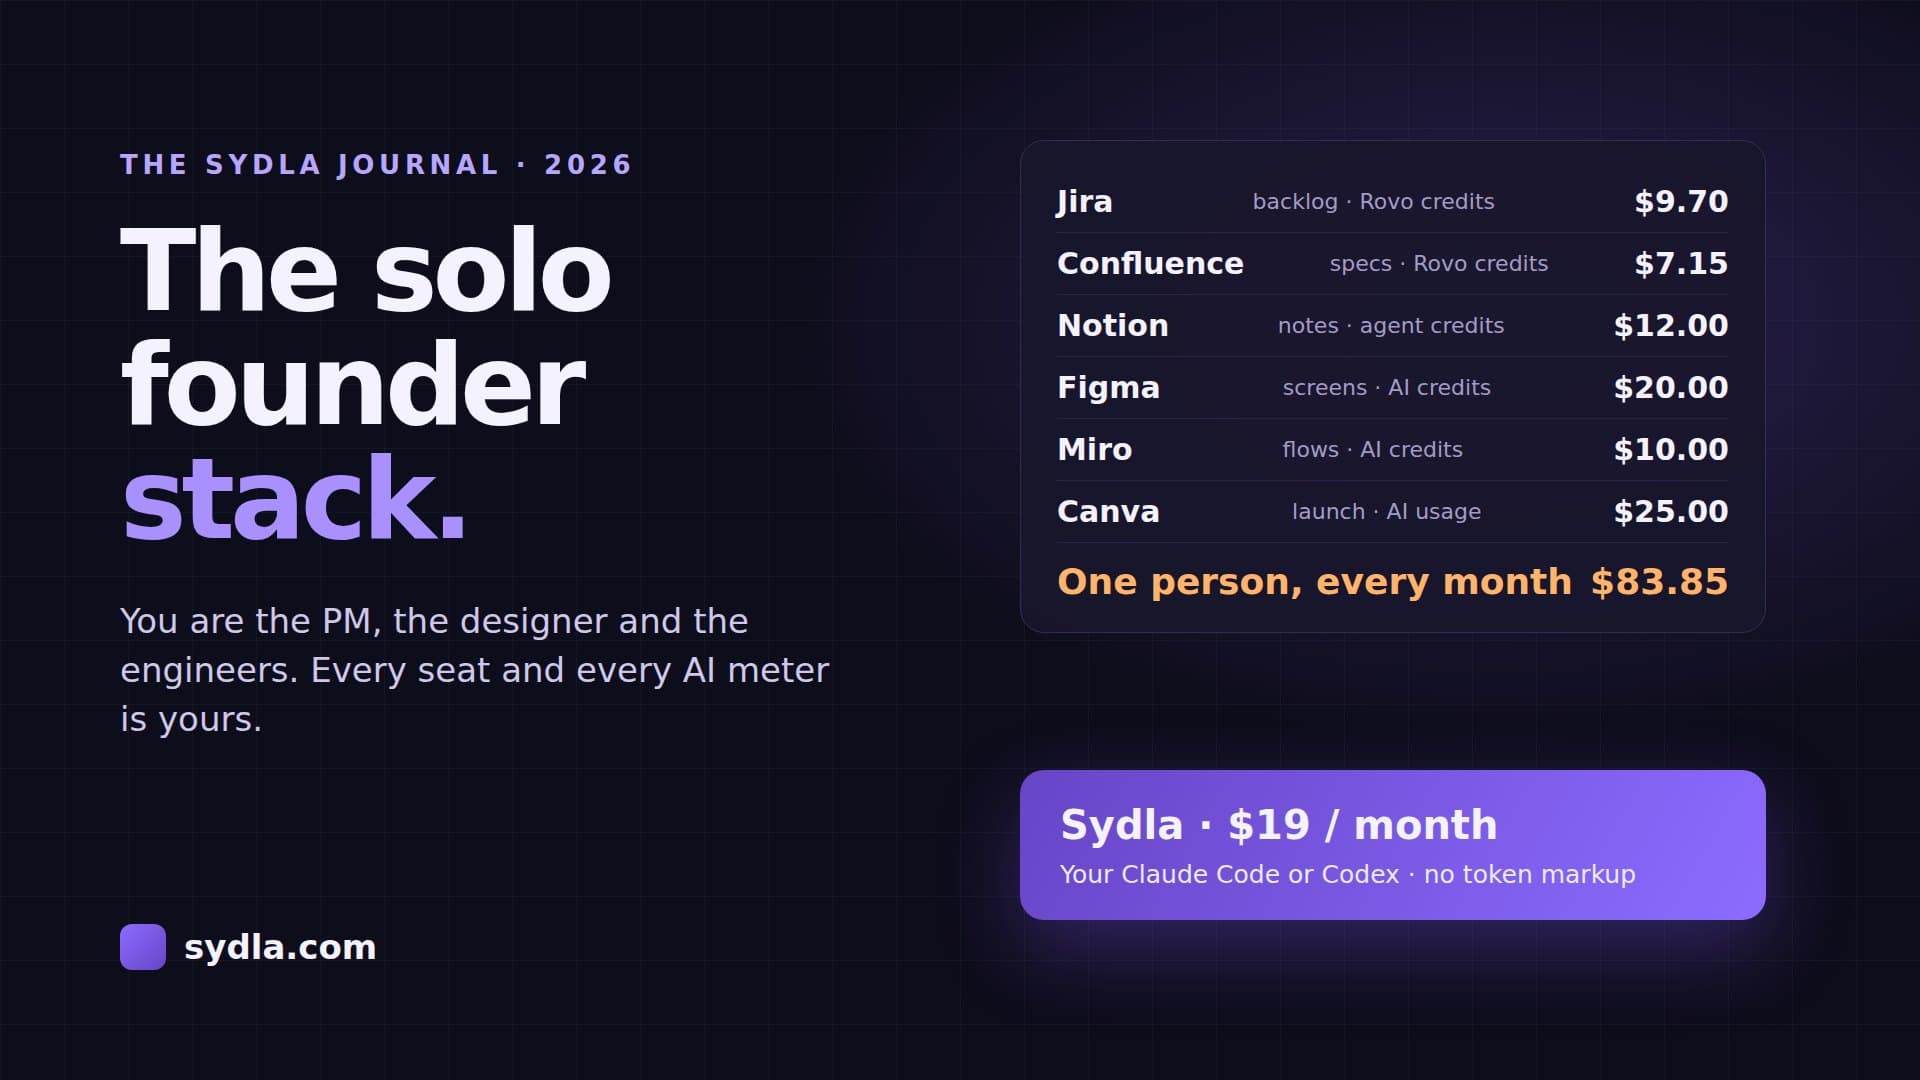
| Six-tool total | $83.85 | Up to six meters, six MCP servers | One screen's QA in six places |
| Sydla | $19.00 | None: your own Claude Code or Codex plan pays for the model | Brief, UX states, run and evidence on one work item |
Design QA is the most MCP-hungry step in the cycle: the agent reads every state of every screen, often more than once while it fixes differences. On a Figma View or Collab seat, 20 MCP reads a month will not cover one screen with seven states at three widths. Figma's write-to-canvas tool is free during its beta and will become a usage-based paid feature. The comparison overview covers each tool, and the pricing section lists the source for every price.
Check every state without a second AI bill
Keep the states next to the brief, and let your own coding agent read both through one connection, for $19 per month instead of $83.85. That is $64.85 saved per user, every month, with no design-tool credits or MCP caps to ration while the agent captures every state at every width.
Walkthrough: brief, UX Studio, your agent in Sydla Desktop, review
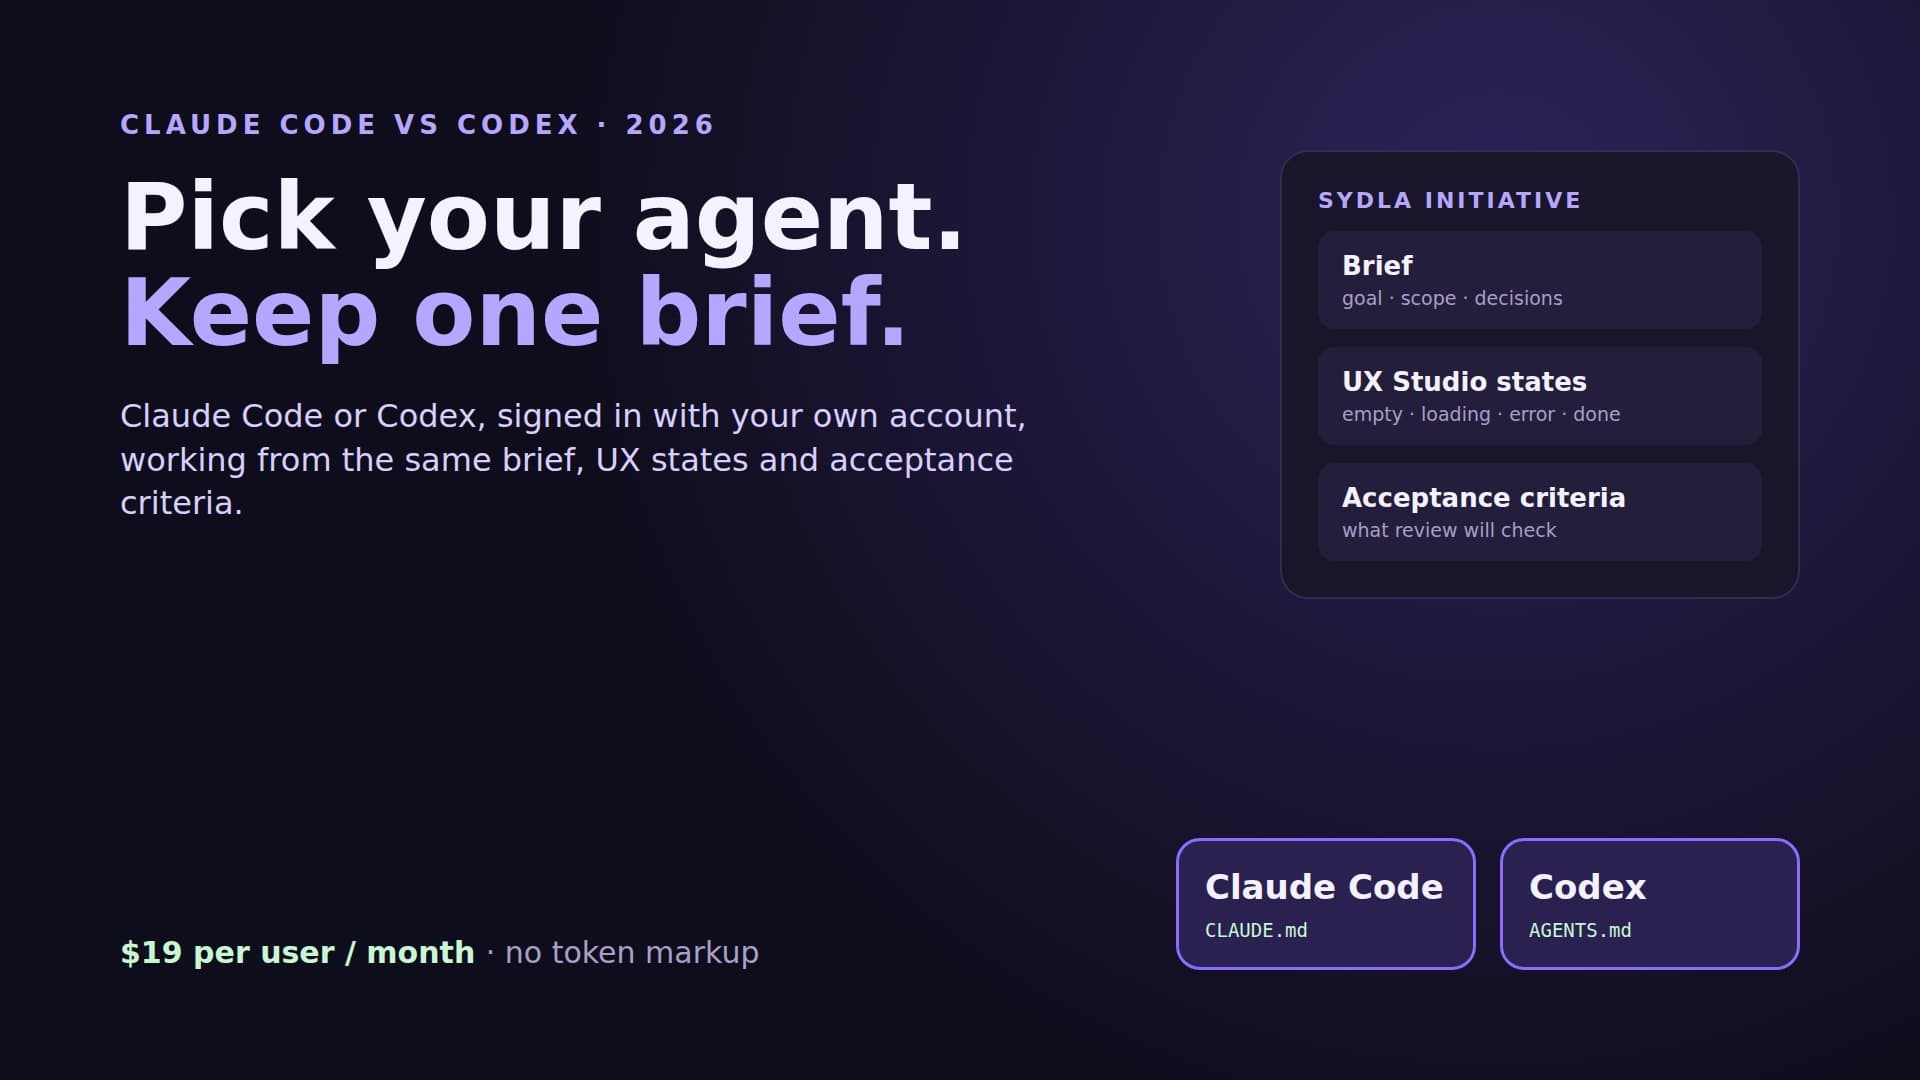
Here is how the six passes move through Sydla on one work item, with the coding agent you already pay for.
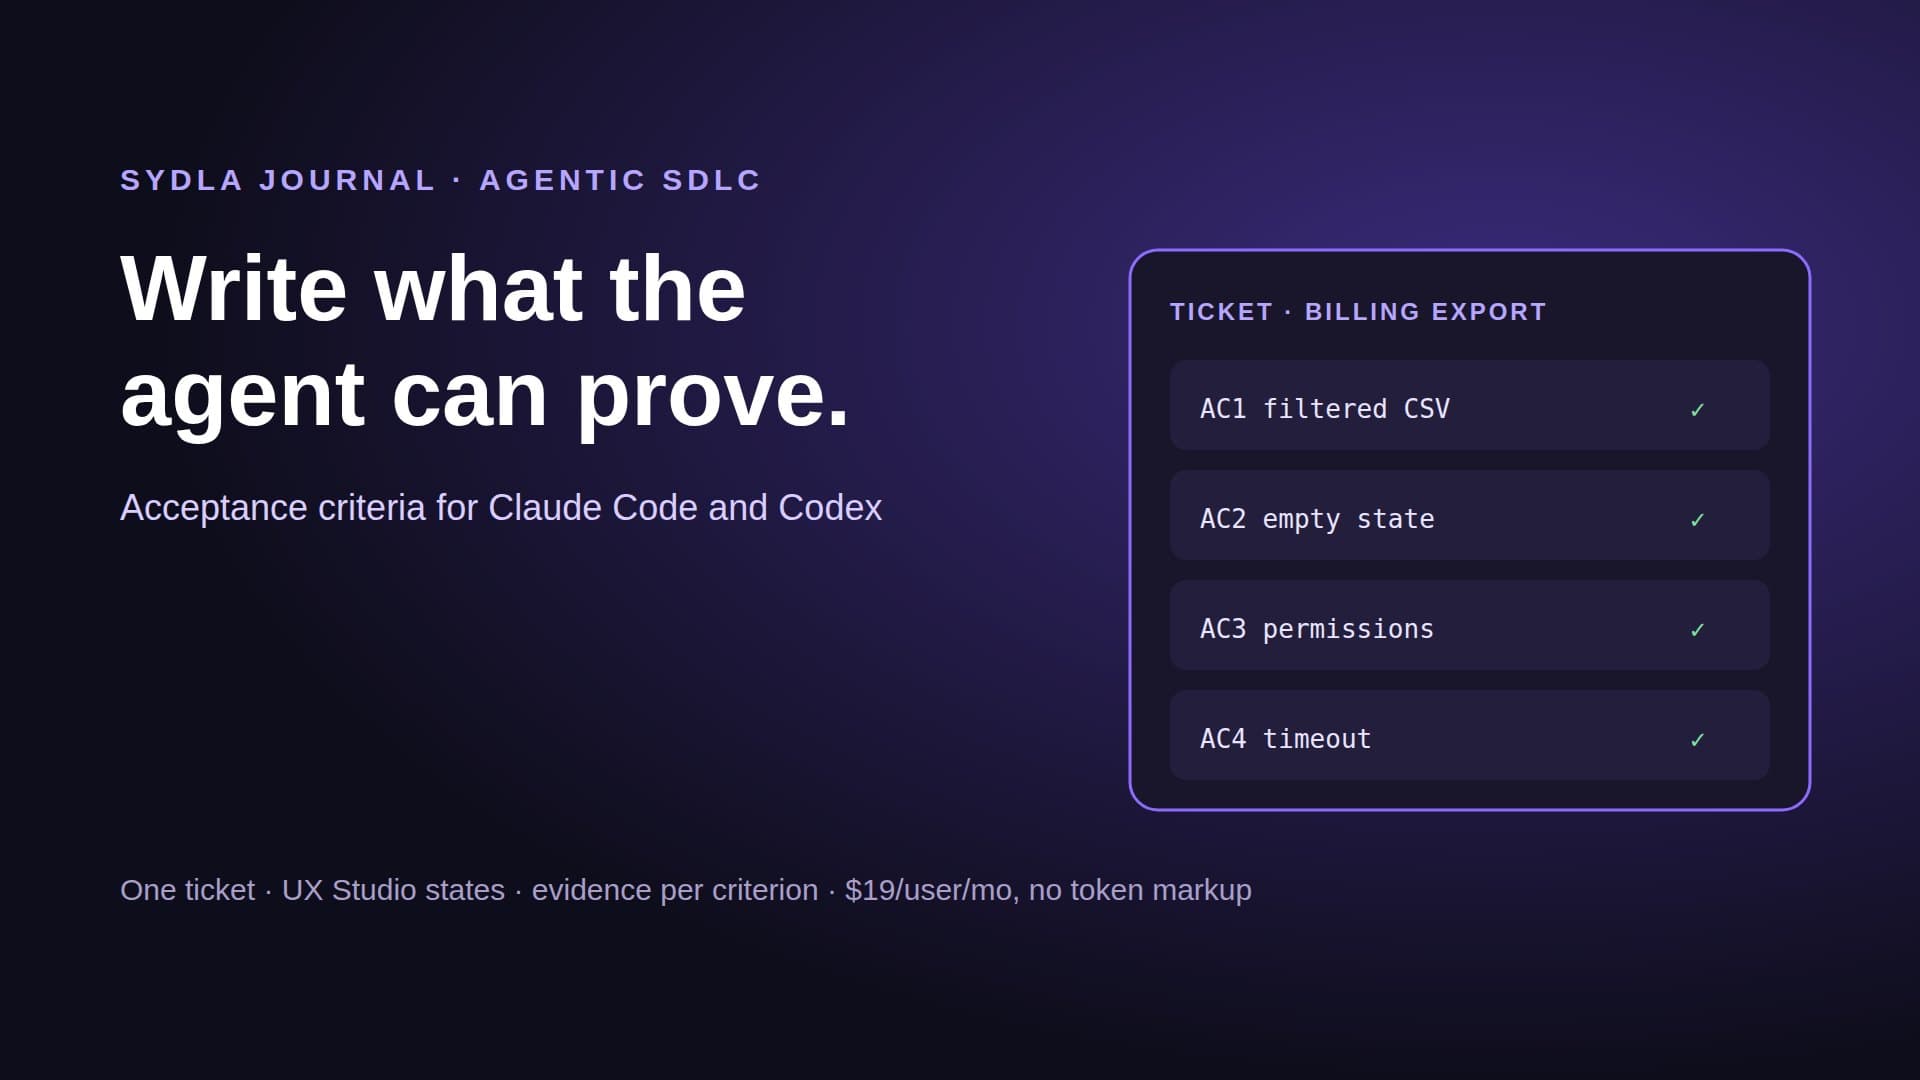
- Brief on the work item. The product owner writes what the screen is for, the acceptance criteria, the breakpoints and the worst real content on a work item in Sydla. Our acceptance criteria guide shows how to write criteria an agent can check. An agent can draft the state list from the criteria; a person approves it.
- States in UX Studio. Each state is its own screen in a UX Studio workflow, built from the workspace's components and tokens, with transitions between them. A person publishes the components and tokens as an immutable snapshot, so the agent compares against a fixed version, not a canvas someone is still editing. Through the Sydla MCP server the agent reads the handoff: resolved HTML, token CSS and the revision of every component.
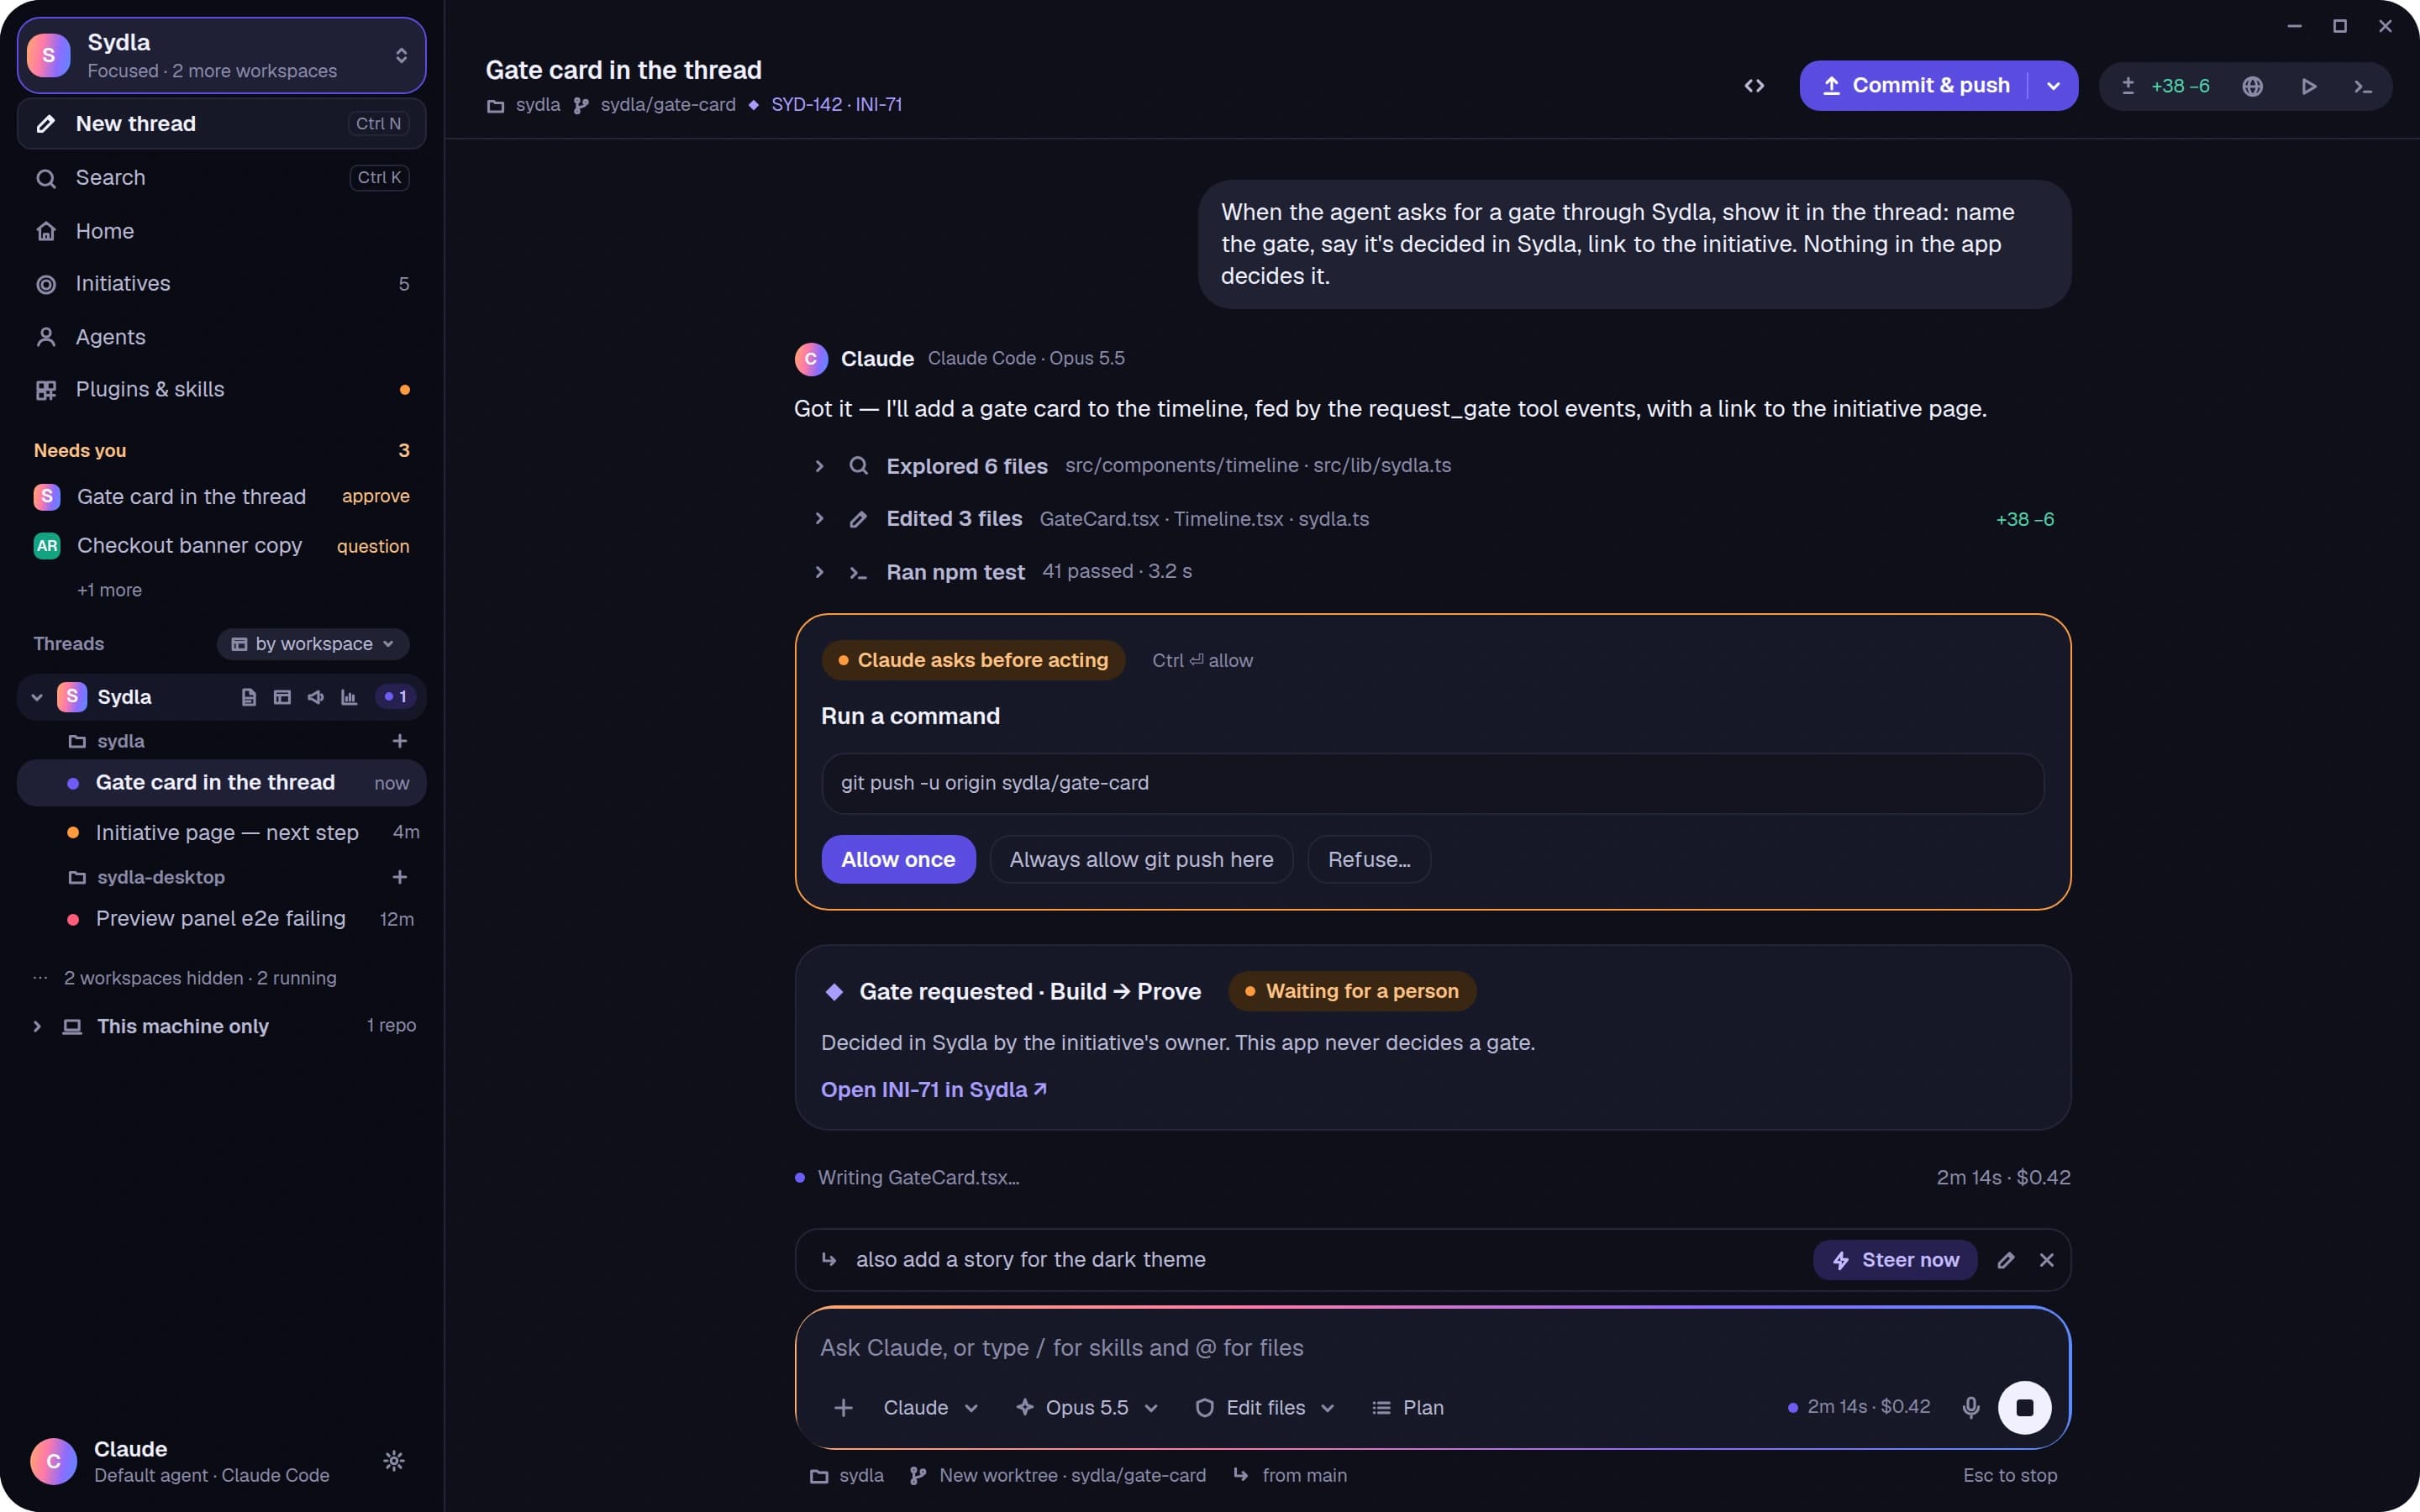
- Run in Sydla Desktop with your own agent. Sydla Desktop launches the Claude Code or Codex CLI on your machine, signed in with your own Anthropic or OpenAI account, in your local checkout. The app gives the agent its own headless Chrome for the thread, with tools to open a page, read it, click, type and take screenshots, through an MCP server built into the app, so Claude Code and Codex use it the same way. The agent starts the dev server, opens each state at each width and captures it. You watch the page live in the thread, and you can take the browser over and hand it back. There are no Sydla AI credits and no token markup. The Desktop guide walks through the first run.
- Review against pass 6. The evidence lands on the work item: the state-by-breakpoint grid, differences fixed and open, raw values added, console output and run cost. The designer leaves comments on the UX Studio screen when the design was wrong, or on the merge request when the code was. Then a person uses our four-pass review checklist for the code itself.
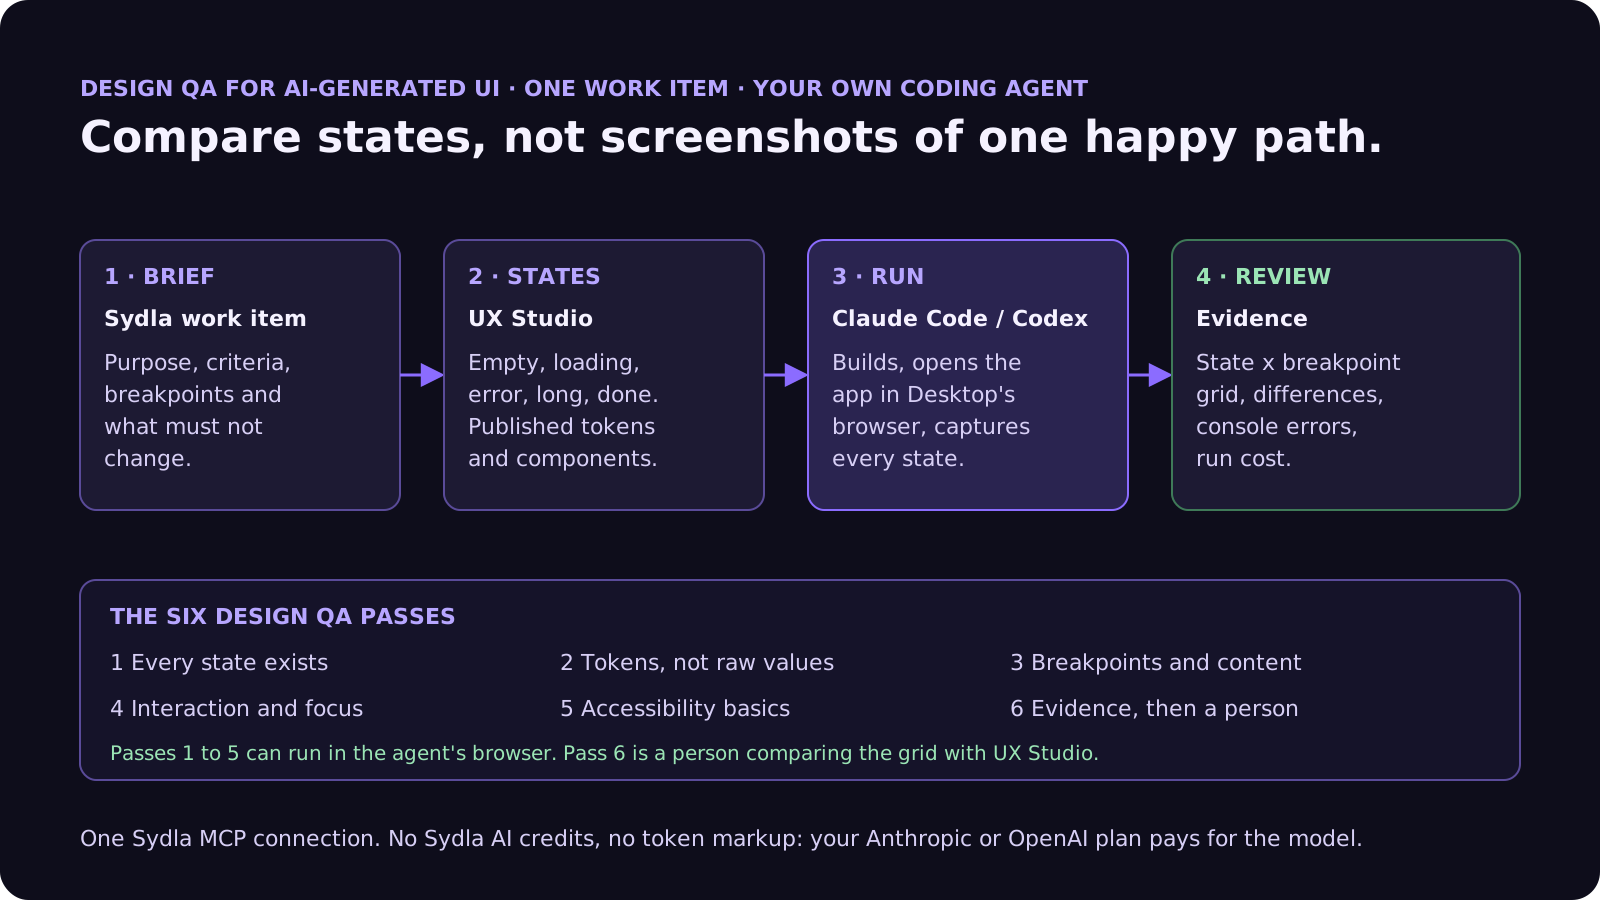
If the agent finds a state the design does not cover, it stops and the question goes to the person who owns the screen: draw it, or ship without it and file a ticket. Agents propose. People decide.
A filled-in example: the billing export screen
Here is the checklist applied to a real-sized screen, at the length we recommend:
- States: no invoices yet, loading, export ready, export failed with a retry, a customer with 2,000 invoices, and a viewer without billing permission. Each one links its UX Studio screen.
- Tokens: only workspace tokens and the existing Button, Table and Alert components. List any raw colour or spacing value with a reason.
- Breakpoints and content: 1440, 1024 and 390 pixels; a 60-character company name, an amount of 1,250,000.00 and the German labels.
- Interaction: tab order is date range, format, Export; Export is disabled while loading; after success, focus moves to the download link.
- Accessibility: labelled inputs, visible focus, contrast in light and dark, the error says what to do next, and no console errors.
- Evidence: an 18-cell grid (six states by three widths), the differences found and fixed, anything left open, and the run cost. A designer signs off on the grid.
That is about 140 words. The agent knows exactly which pictures to take and what "matches" means, and the designer reviews 18 cells instead of discovering the error state in production. Compare it with "Make it match the Figma", which an agent can satisfy with one screenshot.
Common design QA mistakes with AI coding agents
These show up in almost every team's first month of agent-built UI:
- Reviewing one screenshot. The happy path at desktop width is the state least likely to be wrong. Ask for the grid.
- Letting the agent judge its own match. A model that built the screen is a generous reviewer of it. It can list differences; a person decides whether they matter.
- Comparing against a moving canvas. If the design changes during the run, nobody knows which version was checked. Compare against a published snapshot.
- Accepting new components. Agents like to write a fresh card or button that looks right. Ask which existing components were used and list every new one.
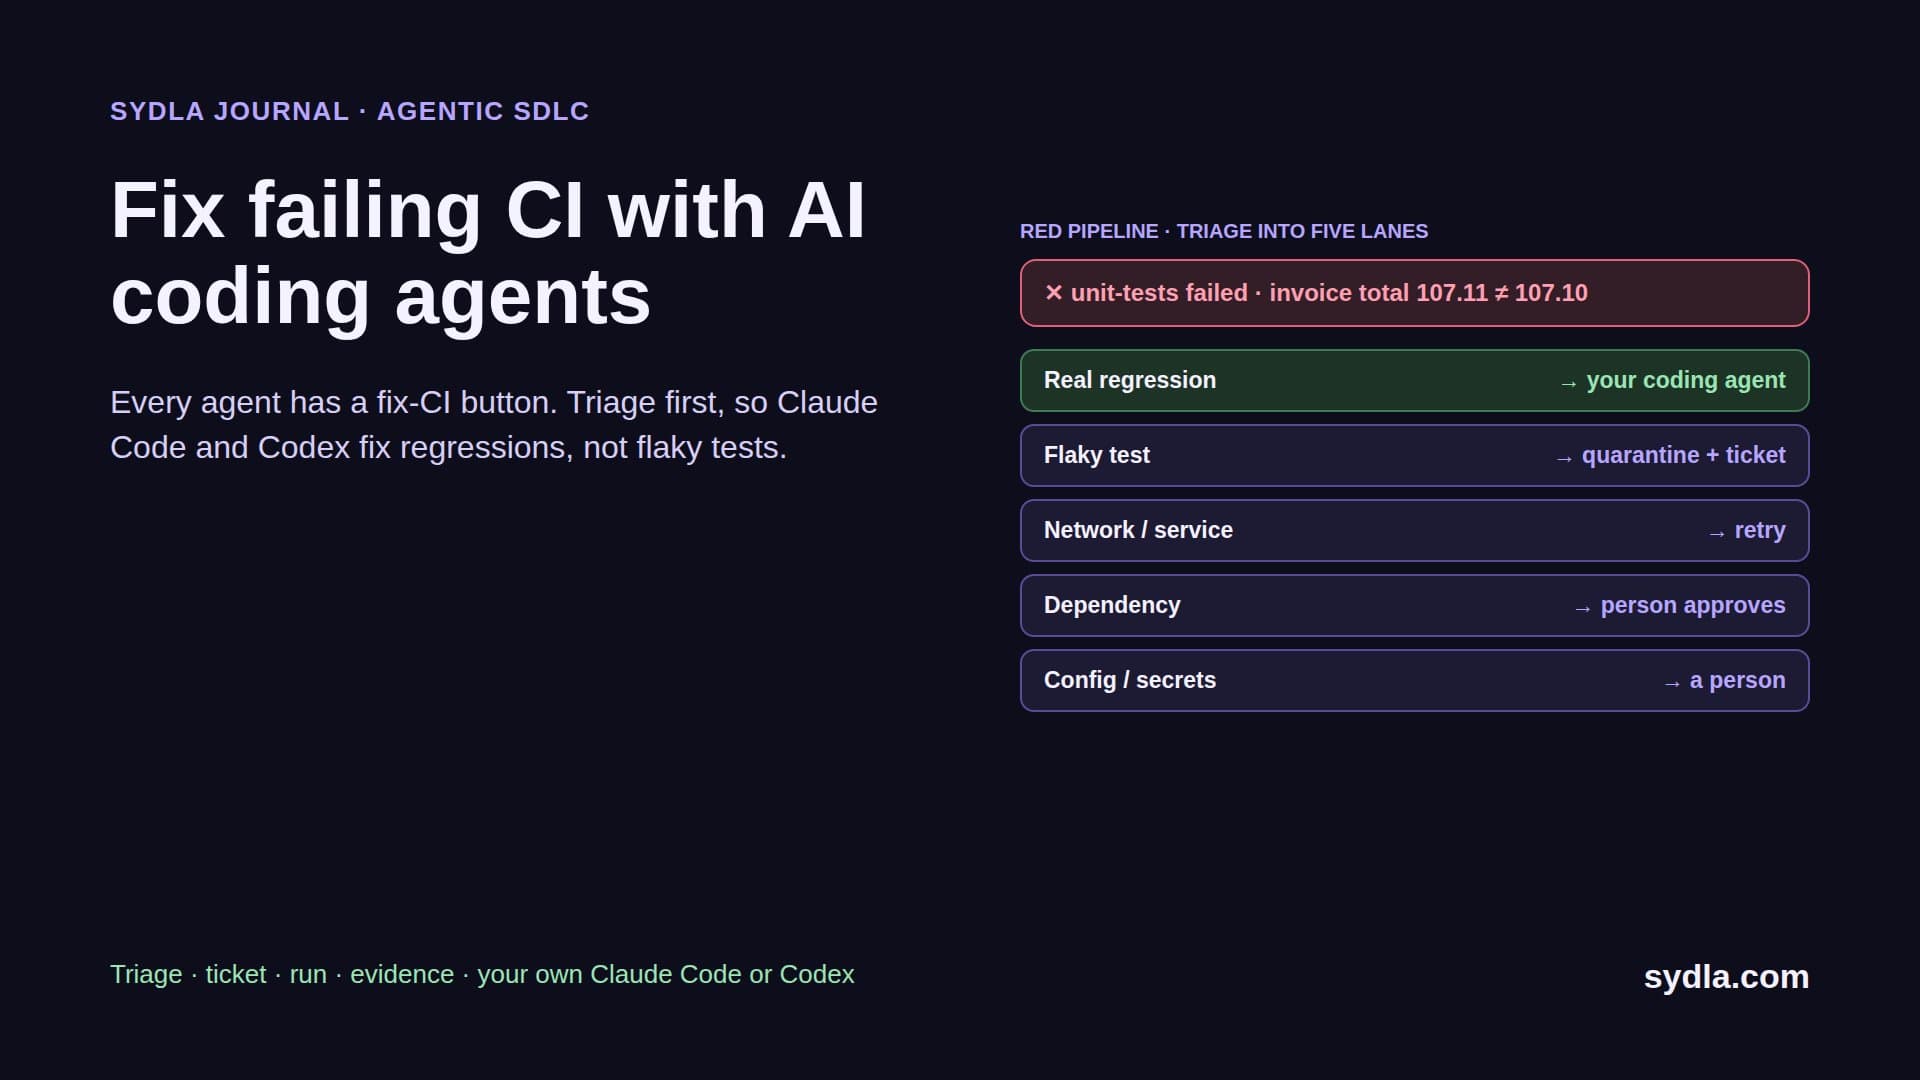
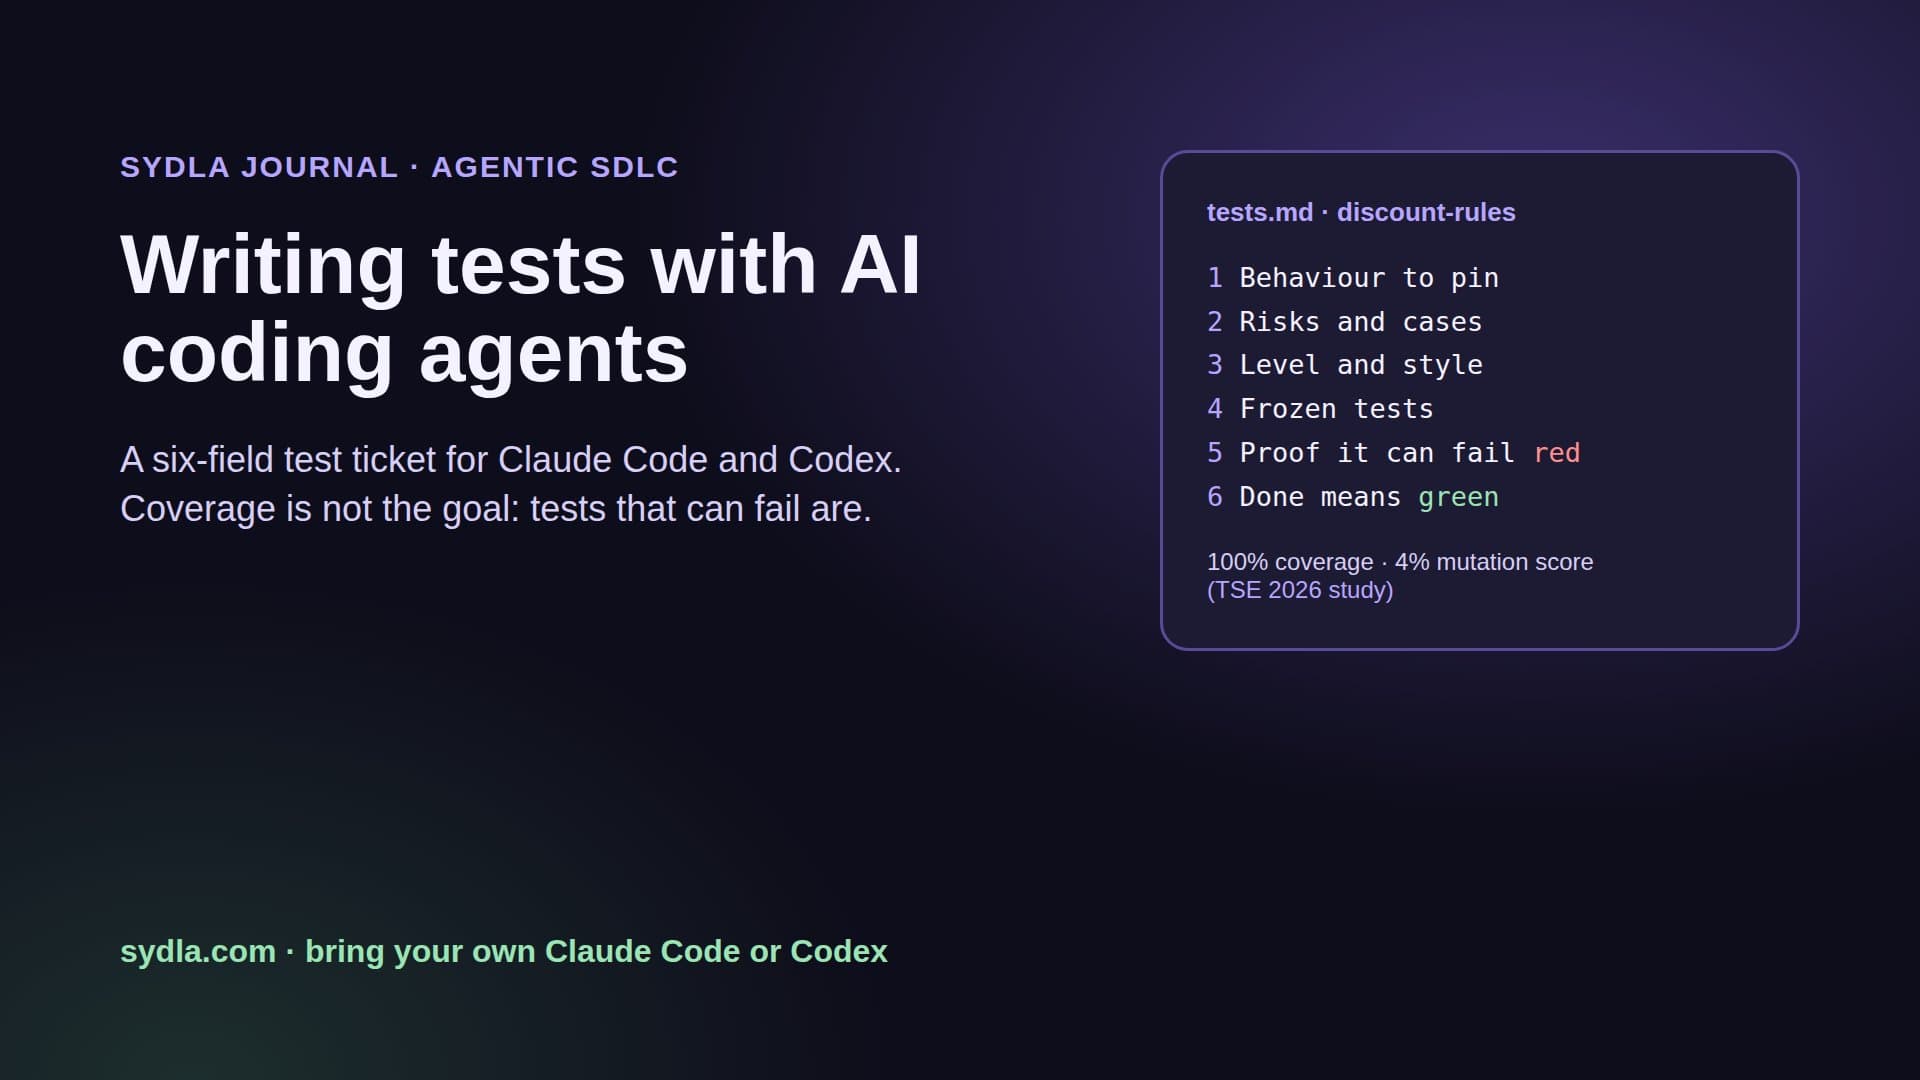
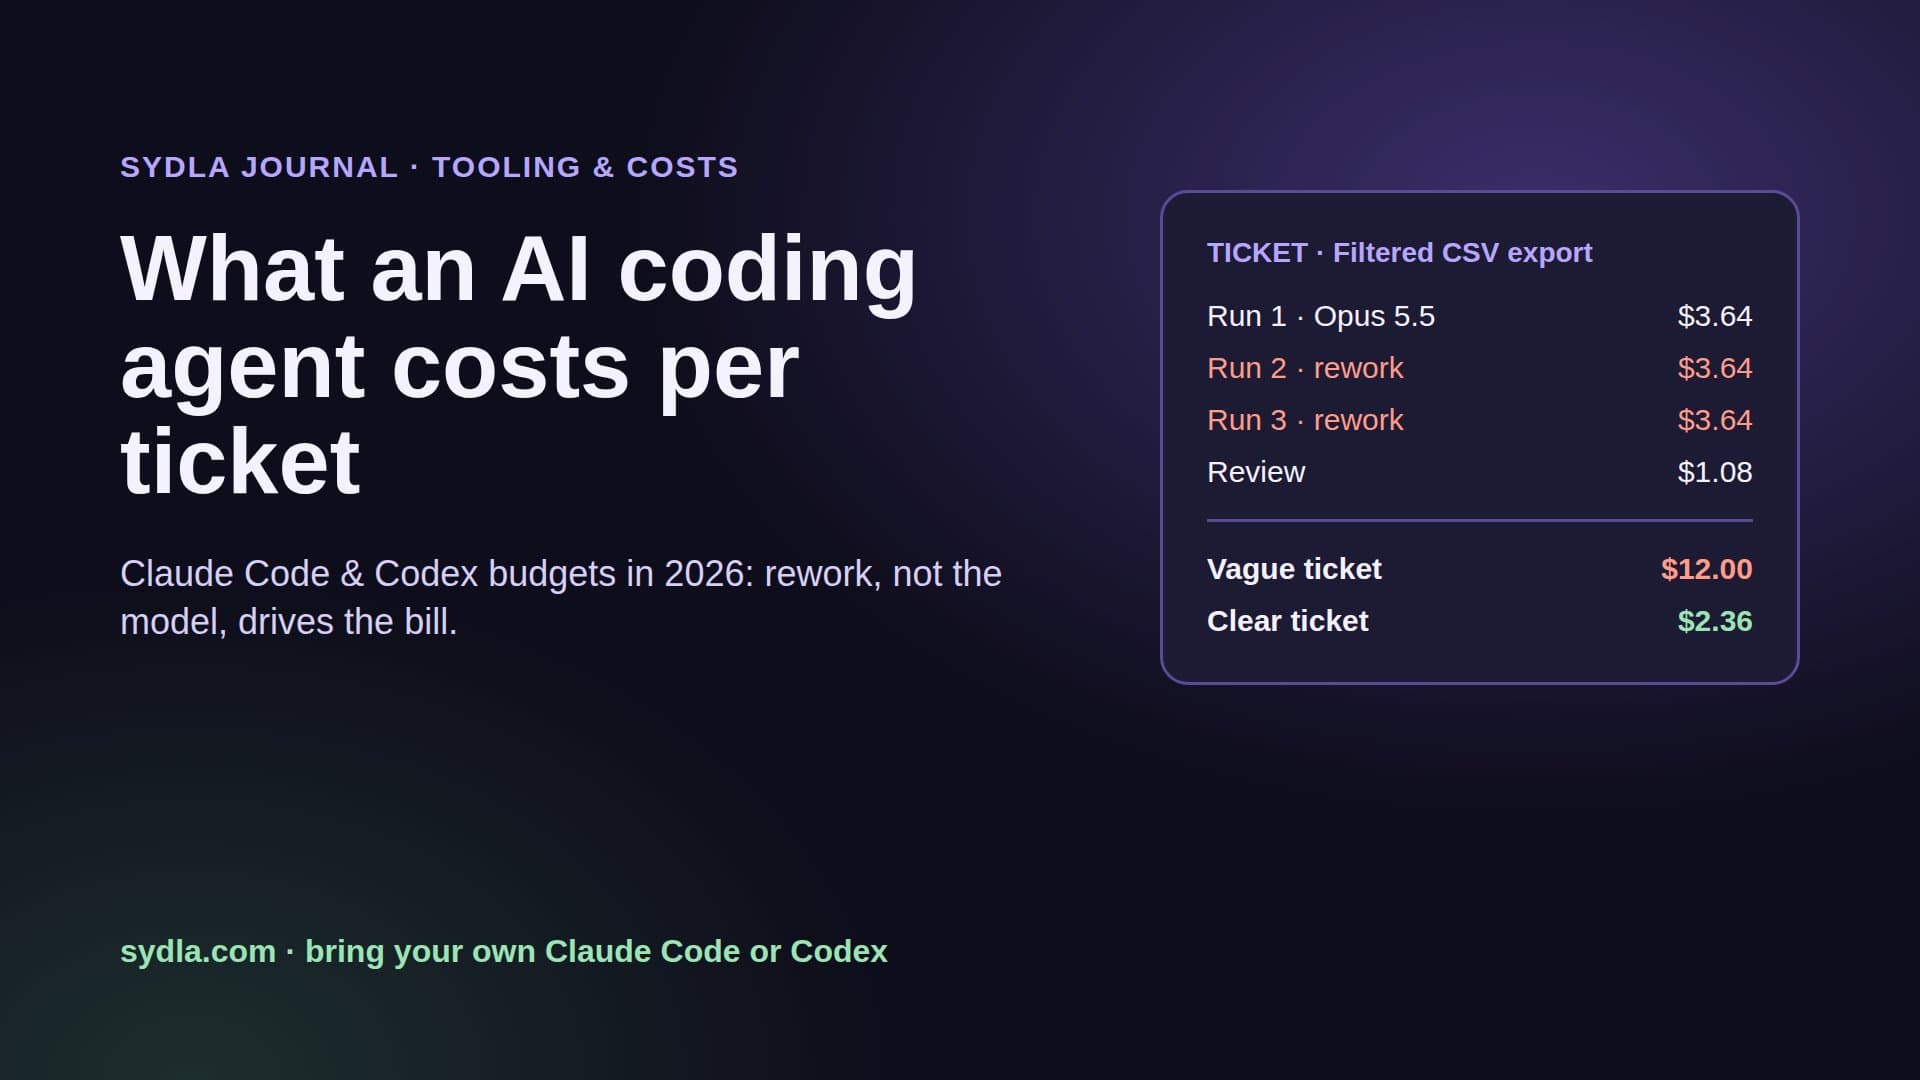
- Skipping the cost. Capturing 18 states, fixing and capturing again costs tokens. Keep the run cost on the work item; our cost per ticket guide shows what to expect, and our guide to writing tests with agents shows how to turn the states into tests that keep them from breaking again.
Frequently asked questions
What is design QA for AI-generated UI?
Design QA for AI-generated UI is checking that a screen built by a coding agent such as Claude Code or Codex matches the design in every state and at every breakpoint, not just in one screenshot. A good check covers six passes: every state exists, design tokens instead of raw values, breakpoints and real content, interaction and focus, accessibility basics, and evidence reviewed by a person.
Can Claude Code check that a UI matches the design?
Yes. Claude Code's best practices list a browser screenshot next to the mockup as a check it can run, and its Chrome integration lists design verification as a use case: build a UI from a mock, then open it in the browser to verify it matches. The Chrome integration needs a direct Anthropic plan. You still need to name every state and breakpoint, and a person should approve the match.
How does Codex verify front-end designs?
OpenAI's Codex use case for responsive front-end designs has Codex reuse the repository's components and tokens, then use Playwright to open the app, resize the browser and compare the layout at different breakpoints with your reference screenshots, iterating until it matches. OpenAI warns that without clear references the UI might look generic.
Does Figma's MCP server have limits for design QA?
Yes. Figma's MCP read tools allow 200 calls per day on Full and Dev seats on the Professional plan, 600 on Enterprise, and only 20 per month on View and Collab seats. Figma AI features use AI credits: 3,000 per month for a Professional Full seat and 500 for Dev, Collab and View seats.
How much does Sydla cost compared with Jira, Confluence, Notion, Figma, Miro and Canva?
Sydla costs $19 per user per month. One paid seat each of Jira Standard, Confluence Standard, Notion Plus, Figma Professional Full, Miro Starter and Canva Business costs $83.85 per user per month, so the saving is $64.85 per user per month. You bring your own Claude Code or Codex account, so your Anthropic or OpenAI plan pays for the model with no markup.